Nothing better than a home-cooked meal, and freshly-grilled burgers are one of the best meals you can make. However, grilling your burgers takes time, planning, and effort. Not to mention, you might not own a grill.

Luckily, you can grill burgers on a panini press, so you can have a juicy burger whenever you crave one!
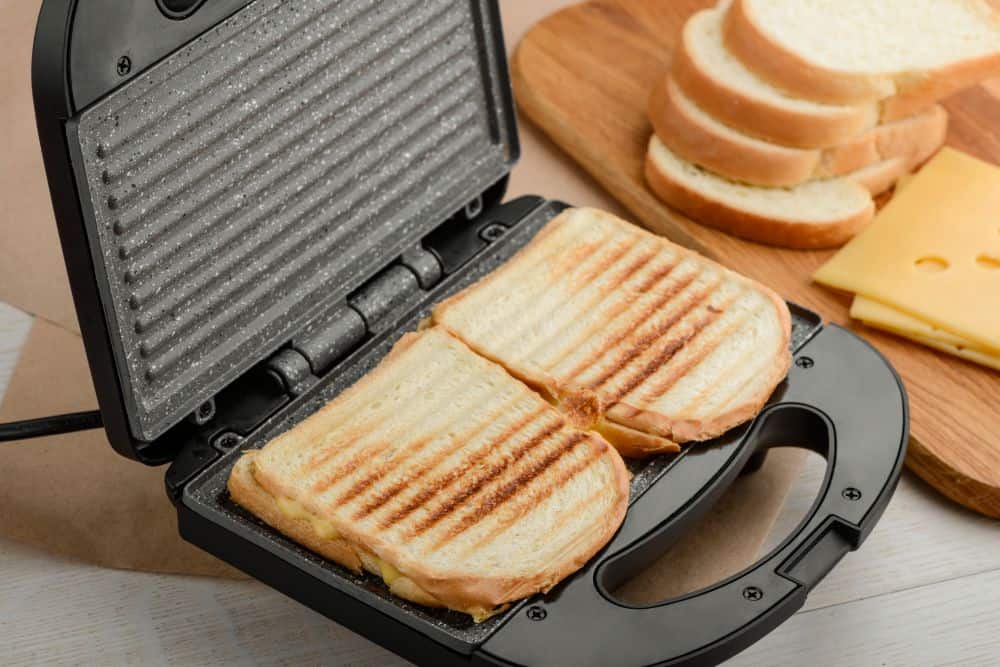
When you break it down, panini presses are convenient countertop grill presses. Although their primary purpose is to prepare grilled sandwiches, people have figured out ways to prep other foods using them.
People may use a panini grill over backyard charcoal grill mainly because of the quicker cooking time. Depending on your press’s manufacturer, the cooking period for your patties will take less than five minutes. Panini presses have a faster preheat time, making them a better alternative to traditional coal grills.
It’s a lot of work to fire up the grill for just a few people. This is where the convenience of a panini press comes in! If you’re just cooking for yourself, your family, or a few friends, using a panini press for cooking a few burgers is much faster and more efficient than using a grill.
Grilling hamburger patties on a panini press is very simple. Just take everything step by step!
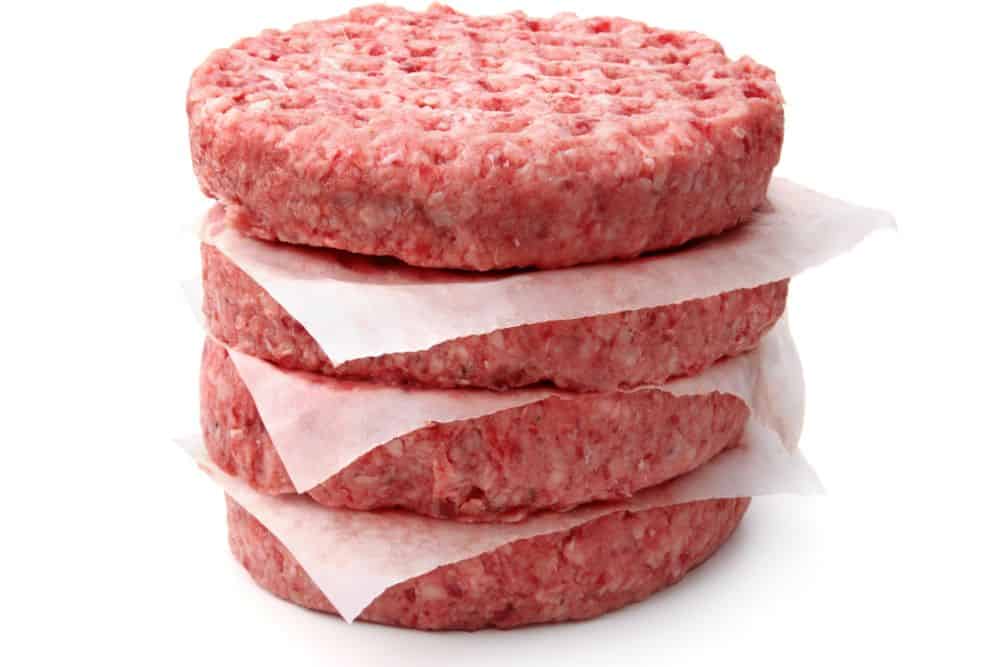
Before you start, you want to be sure that the panini press is clean and your ingredients are ready. You’ll need ground beef burger patties, cooking spray, and a burger recipe that may include optional seasonings to flavor your burgers, such as salt, worcestershire sauce, or a meat tenderizer.
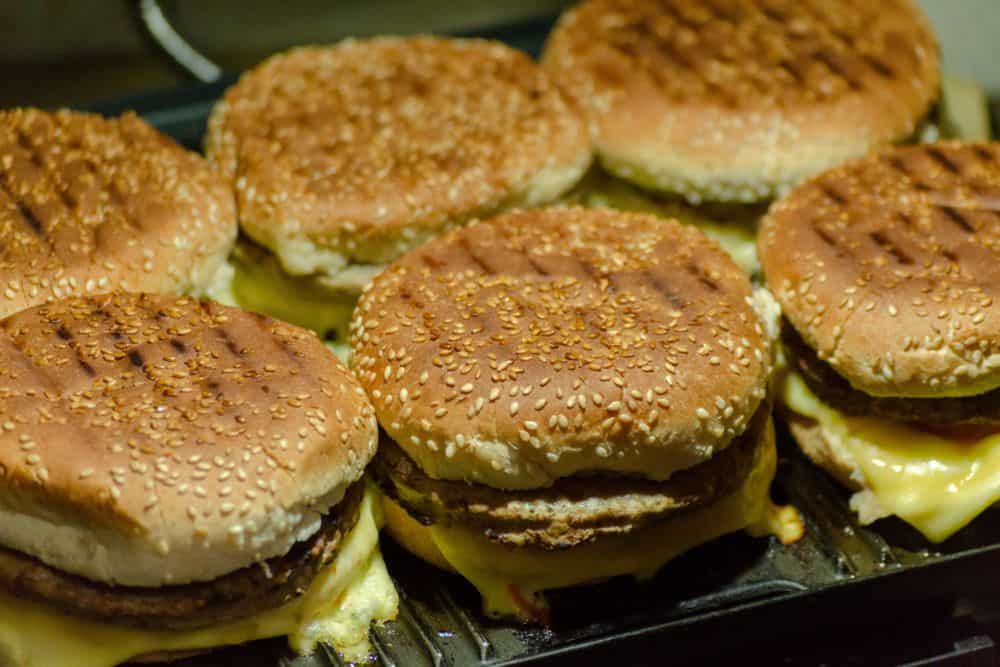
Although you may melt cheese on your cooked burgers after they have come off the panini press, don’t put cheese on your burger while cooking. The cheese will stick to the top plate of the panini press and make a sticky, smokey mess.
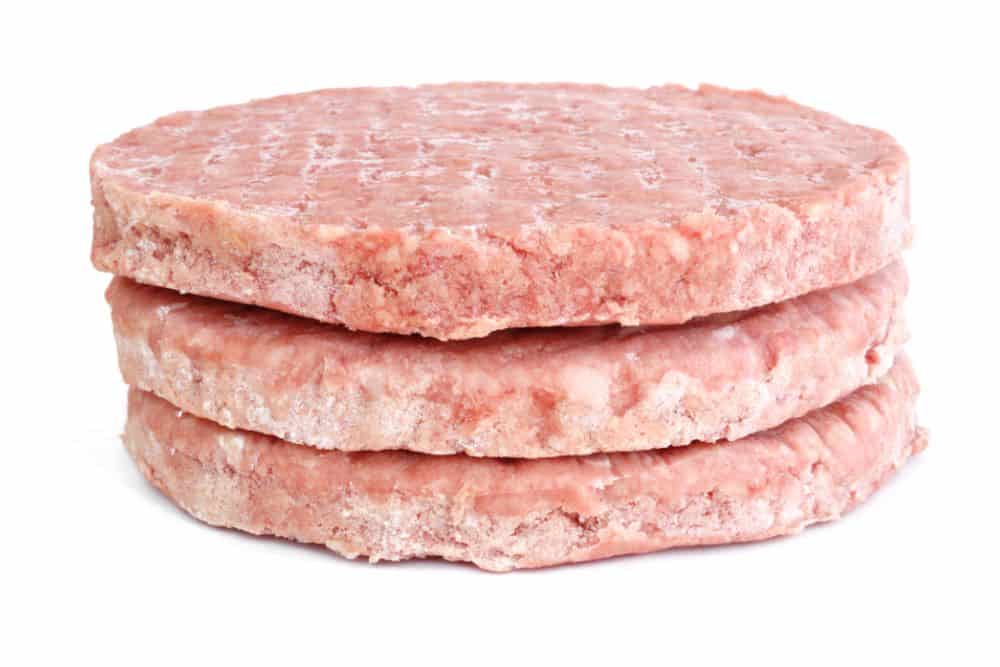
You can use non-stick spray to ensure that the patties slide off the press efficiently. For best results, don't use a frozen patty. Try to thaw frozen meat before you cook it since it can affect how it cooks and tastes. It’s much easier to gauge whether you overcook or undercook thawed patties.
You can cook a few patties together on a panini press. However, ensure that all the patties are the same size and thickness. Burger thickness is critical since you want the upper grate of the press to make equal and complete contact with all of the burger patties when you close the lid.

What if some of your patties are thicker than others? You can take all the thick hamburger patties and cook them together, then cook the thin ones in their batch. Grilling burgers of the same thickness will help to ensure even cooking. You want to ensure that every patty receives the same amount of heat while they cook.
Check your patties' temperature to avoid food-borne illnesses or an undercooked patty. You should use a cooking thermometer, although there are a couple of alternatives if you don’t have one handy.
If you have a thermometer, you are looking for all of your burger patties to reach 165 degrees Fahrenheit (70°C). Simply insert the thermometer through the side of the patty before you think it’s entirely done cooking. Give your burgers a few more minutes to cook if the temperature falls below 165 degrees.
You can recheck the burgers as the temperature approaches 165 degrees, but be careful when reinserting the thermometer several times, as it can tear the burger.
It’s wise to test the centers of several burger patties, as there may be some hot spots on the panini press where some burgers cook faster than others.

If you don’t have a cooking thermometer, you can use a wooden skewer or cake tester to check your patties. Just insert the tool into the side of the patty, wait for a second, then remove it. Touch the tester to your wrist; if it feels cold, the meat is still raw. You want the tester to feel hot to the touch, which means that your hamburger patties are well done.
Of course, if you remove the tester with raw meat, the patty is still raw.
The presses cook food through without you needing to flip the patties - and propane powered panini presses are even used in some commercial restaurants to more quickly cook hamburger patties.. The panini press will even provide those "grill marks" to your burgers. This is why cooking with a panini press is much faster than cooking on a grill. Once the patties have reached a good internal temperature, you are good to serve them to your guests!
While your panini press might look messy after cooking your burgers, cleanup is quite simple.
You need to scrape the press before it cools down, so you can avoid harsh residue that dries on the grill. Most brands will also send their panini presses to you with a complimentary grill scraper for cleaning. Make sure you also unplug the press and avoid any accidental burns in the process.

Once scraping off any cooked grease and meat, you can finish cleaning when the press cools down. Finish things off with good old soap and water. If your panini press's removable grates, you can get a better clean by hand. Alternatively, you can also throw them in the dishwasher for deep cleaning.
Here are some frequently asked questions about cooking burgers on a panini press.
The two terms are often used interchangeably since both have two plates with a raised grill on either side. Technically, if the appliance generates its own heat, it should be called a panini grill. If the appliance holds food as it cooks over an external heat source, it should be a panini press. However, the concept is still the same.
Yes. It will take longer for the patties to cook, and their consistency might differ from a thawed hamburger patty.
Heat the lid and pan on the stove until both surfaces are hot. Then, put the meat in the pan and cover it with the press. You can leave the press on the stove to finish cooking or transfer the whole thing to your oven to cook.
