The panini press is one of the most delightful culinary inventions of the last fifty years-maybe even the century. It allows you to take all the sandwich-making power of an Italian sandwich shop's sandwich press into your home, helping you to whip up meaty, melty sandwiches instantaneously.
Of course, the panini press is not perfect. Since it’s a self-contained unit, cleaning a panini press isn’t the same process as other dishes, leaving many panini enthusiasts in the lurch.
But fear not! This article discusses everything you need to know about effectively cleaning your panini press, including the cleansing process and the steps for keeping your panini press clean from the outset.
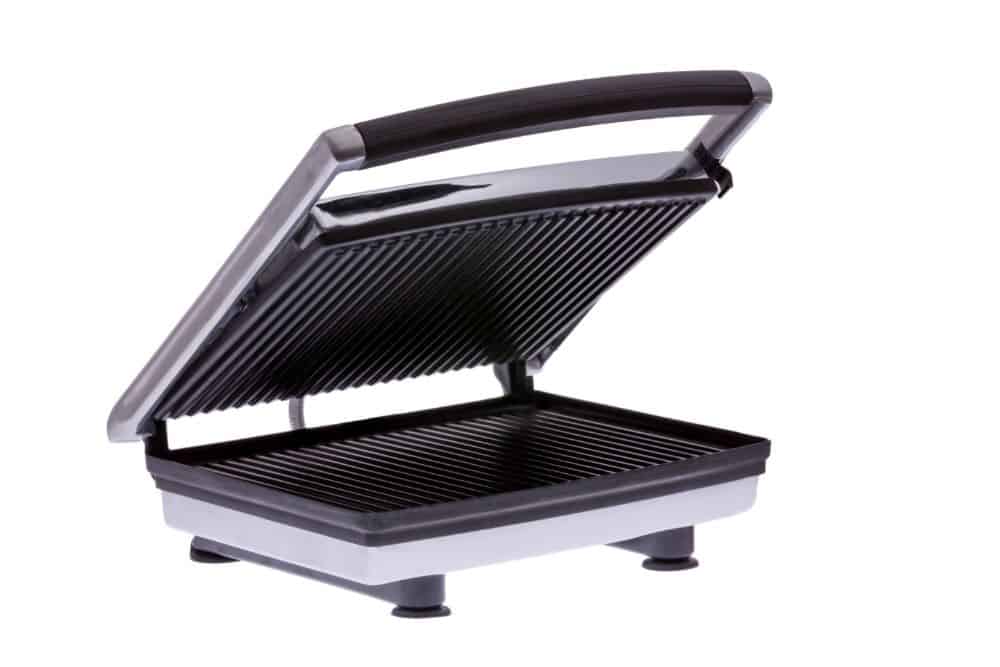
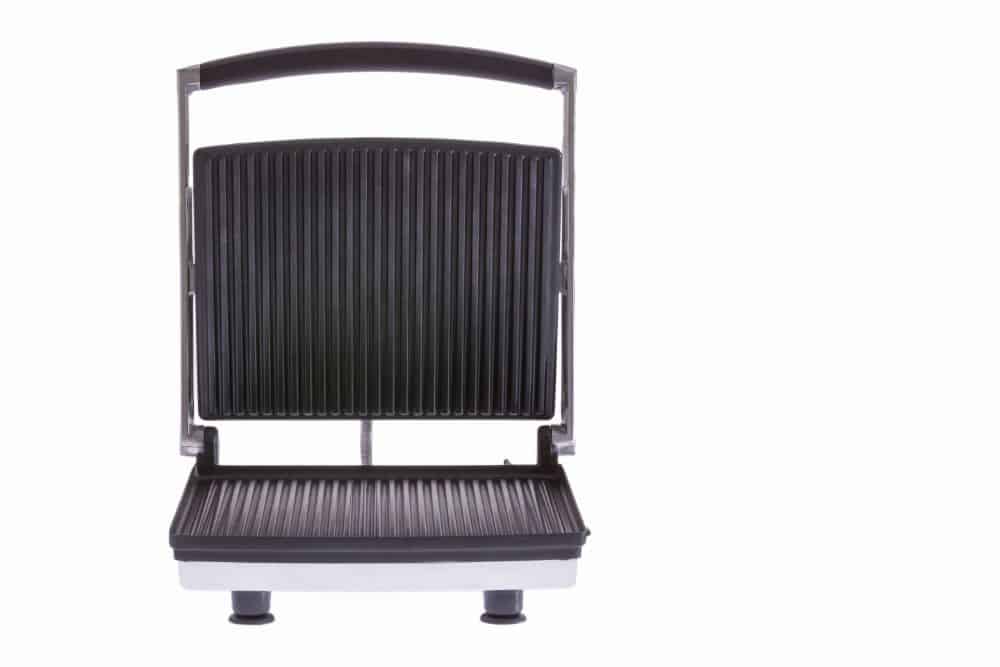
Before cleaning your panini press (and before cooking, really), you should determine what variety of panini press you use. Some panini presses have removable metal plates, while others have immovable plates that attach to the heating element.
This difference matters. It can determine how involved your cleaning process will be. A panini press with removable plates will have a relatively straightforward cleaning process, and a panini press without removable plates will require some clever workarounds.
If your panini press plates are removable, cleaning them is a snap.
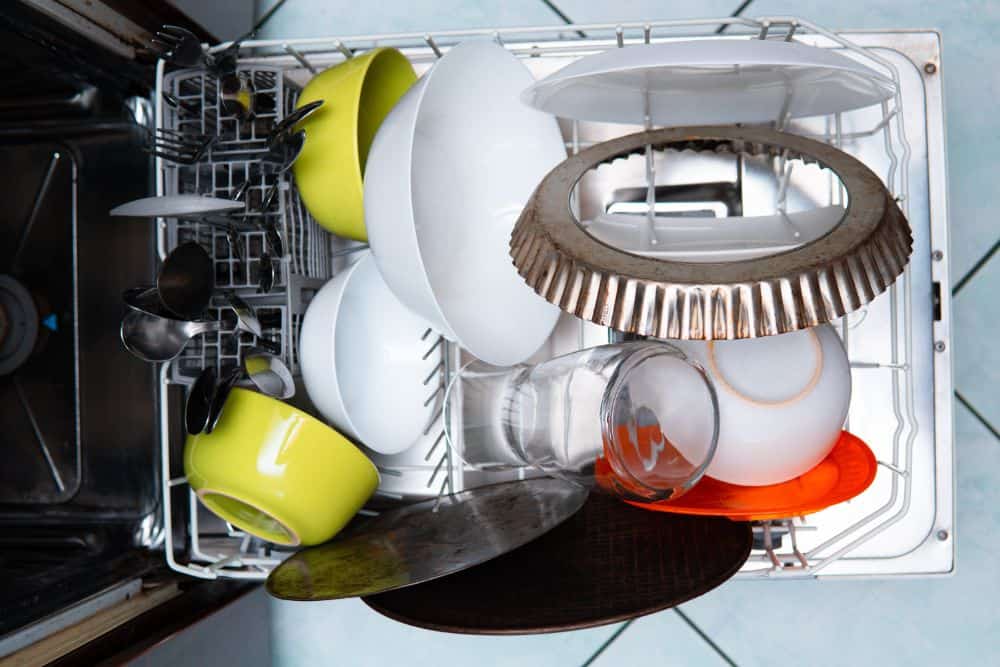
If the plates are dishwasher safe (you can determine this information from the user’s manual), you can slide them into your regular wash cycle to disinfect them. If there’s stuck-on food, you may need to apply some extra gusto when scrubbing, but your dishwasher should take care of the rest of the work.

If the plates are not dishwasher safe, the process is still relatively straightforward. After removing the plates from the panini press, wash them with warm, soapy water and let them dry on a kitchen towel or your drying rack.
In either case, it’s crucial to allow the plates to dry before you insert them back into the machine. While a little moisture isn’t likely to cause a catastrophe, an excess of water can drip into the electric components of the panini press, damaging the machine and posing a hazard to users.
If you’re using a panini press without removable plates, the cleaning process is somewhat different, but still quite doable.
After you finish cooking with your panini press, allow the machine to cool until it’s slightly warm. You might either turn it off and monitor the temperature, or, if your unit has heat settings, set the panini press to low.
Once the panini press is warm, but not hot enough to burn, wet a paper towel or dishcloth with warm water. Then, scrub food remnants and grease off each removable plate on your panini press. After removing all the major stains, allow the panini press to cool.
This method should tackle most dirt and grease, but there are situations when you might want a heavy-duty cleaning method. If your panini press needs some extra TLC, mix two tablespoons of baking soda with half a cup of warm water, then liberally wipe the mixture on the plates. Let the mixture sit for about ten minutes, then give it a thorough wipe-down.
Wait until the panini maker and your grill plate are both completely dry before inserting the plate back into your panini press.
The panini grill is a very precise piece of machinery; it deserves a thorough, but gentle, cleaning. Mistreating it will not do you any favors and could require you to replace your precious sandwich machine!

For that reason, you’ll want to stick with delicate, low-intensity cleaning tools and soft cleaning solutions when you’re wiping down your panini press.
A gentle brush can be very effective at removing stains. The OXO panini press brush has soft bristles that won't damage non stick plates on your electric grill.
This grill brush is specifically designed to get deep into the ridges of removable grill plates. It works for just about any type of electric grill or painini press grill.
Use of the brush with warm soapy water can eliminate grease, oil, or leftover grilled cheese that is stuck to your grill grates.
Don’t use anything that resembles a scouring pad, even a plastic one. That means you need to steer clear of tools like steel wool. While these scrubbers can be excellent for battling tough stains on other products, they can damage the non-stick coating on a panini press, which severely hampers its functionality. Plus, no one wants to eat flakes of non-stick coating on their panini!
Even if parts of your press can come out and are labeled “dishwasher safe,” your best bet is to avoid the dishwasher. Instead, wash them by hand to extend their lifespan. Unfortunately, the dishwasher has the same issue as scouring pads: it’s just too tough for delicate non-stick.

Additionally, use gentle cleaning solutions on the panini press. As highlighted above, soap, water, and baking soda are your friends. While it might be tempting to save time with harsher dishwashing solutions, these will only make things worse-they might appear to clean off the panini press, but they will also strip off the non-stick seasoning.
The best methods for cleaning a panini press aren’t rocket science. By using the common ingredients that people have used to clean cookware for centuries, you can ensure that your panini press enjoys a long and productive life.
If you’re really struggling with some burnt-on schmutz, mix baking soda with water or a cooking oil until you get a thick paste. This will be a gentle abrasive that’s safe for non-stick coatings, but is also tough enough to remove stubborn grease.
Of course, the best way to ensure your panini press isn’t constantly messy is to keep it clean in the first place! It’s essential to clean your panini press after each use. If you don’t, the crumbs, grease, and stains will compound, making it a far more challenging affair to clean.
Thankfully, it’s fairly easy to keep a panini press clean for regular use. First, follow the regular cleaning processes outlined above after each use. This will wipe away excess food and mess.
Second, keep your food preparation space neat and orderly. Without proper sandwich-prep discipline, it’s all too easy for ingredients to splatter on the insides and outsides of the panini press. Who wants to deal with a panini press covered in rotten lettuce, goopy mayonnaise, and encrusted cheese?
Finally, be selective with your ingredients. While you should always seek to broaden your culinary horizons, use your common sense when applying foods to your panini press. Overstuffed sandwiches can spill their ingredients out onto the panini press, creating an unnecessary-and inedible-mess.
If you still have some uncertainties about how to clean your favorite sandwich maker, here are some frequently asked questions from other panini press users.
Seasoning is the process of creating a protective layer of carbonized oil on cast iron. If your panini press’ plates are cast iron, treat them slightly differently than the standard panini press. As in the instructions above, use water, soap, and baking soda (the latter two only sparingly).
An additional step, though, is to season the cast iron plates. When you’re done cooking and the plates are cool, put a dollop of vegetable or canola oil on them and rub it over the surface to create a protective layer.
Some cooks opt to add extra convenience to their process by wrapping their sandwiches in parchment paper before toasting them. This process contains any mess-and, since parchment paper is heat-resistant up to 450 degrees or so, it’s safe for the low temperatures of a panini press!
Butter is completely safe to use on a panini press and can add an extra layer of deliciousness to your panini. A note of caution, though: adding too much butter can make the sandwich soggy, so exercise discretion. Butter can also build up excessive oils on your press, so make sure you’re cleaning it often.
