Pottery is a growing craft that is loved by many. It is an ancient art that has resurfaced immensely in the past five years. Almost every ancient culture had a style and process of forming clay into beautiful or practical pieces.
The slow, methodical process of pottery making is what draws some artists. It is a peaceful way for them to escape the world and use the creative side of their brain. They can make something practical for use or a piece appealing to the eyes.
Others are drawn to pottery to get away from consumerism and mass production in our world today. The personality and individualism of pottery cannot be recreated. Every potter has its style.
There is no right or wrong way in pottery; there is only your way. What some potters may say is incorrect may be what is beautiful in another potter’s eyes.
The process of creating a finished piece of pottery is quite extensive. You cannot simply shape a piece of clay and call it good. The pottery clay needs firing. There is a decorating step, which is also practical by making the pottery waterproof. This step is called glazing.
The last step of finishing a piece of pottery is firing. Firing pottery is performed by professional potters in a kiln. A pottery kiln gets very hot.
Can you fire pottery in an oven - Is it possible to oven bake clay? Yes, it is! Limitations and differences between oven-finished pottery clay and kiln firing exist.
Why use a regular oven in the first place? Why would you not just get a kiln? That is how pottery gets made anyway, right?
There are many benefits to using your oven at home. Most homes in the United States have home ovens. Having a home oven means that most homes in the United States are capable of becoming pottery-making factories!

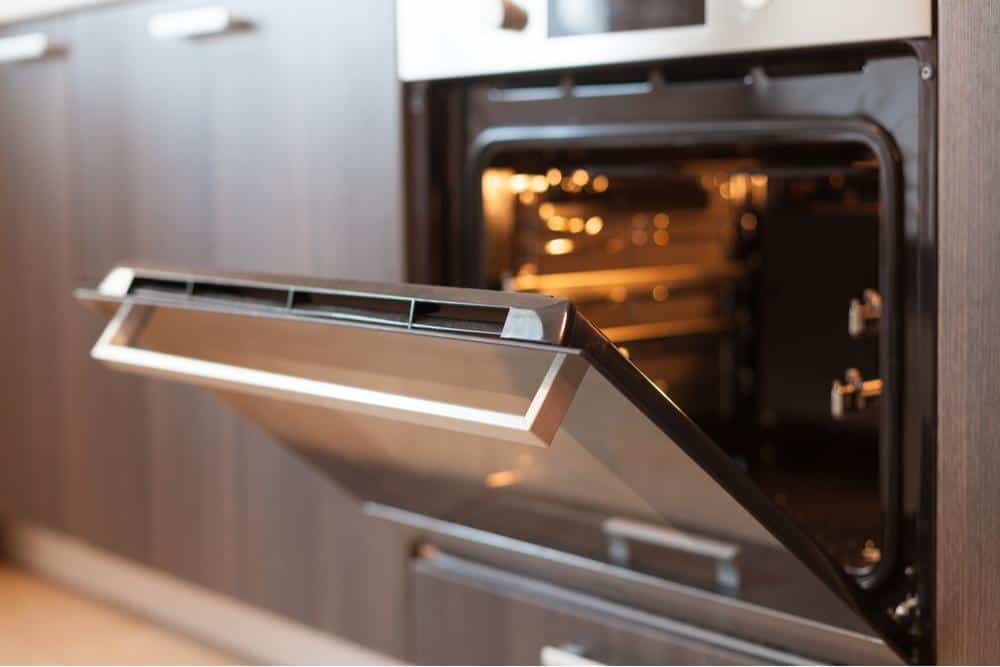
Good news - you can use your kitchen oven to make pottery (with some limitations)
The basics of pottery are learnable by anyone wanting to start their journey in becoming a potter. The worry of knowing the correct kiln processes can be avoided by firing your pottery in an oven. Firing has many technicalities that need learning before anyone can fire in a kiln. It can also be a dangerous skill.
Firing basics are learnable in your oven. You can learn the temperatures, the thickness of the clay, and the amount of glaze that are learnable by starting in your home oven. It allows a potter to start small.
A first-time potter can learn basic shapes. If you are not sure you want to take up the hobby of pottery and do not even know if you are good at it, you can start by throwing together a clay pot out of soft clay and using your oven to fire it.
It is a much cheaper option than investing in a firing kiln. Clay pots can be constructed very inexpensively. Not only do you not have to buy a kiln, but the clay used. Starting small and putting in less investment may be the right option for you.
If you already have an oven in your home, why not use it to start making pottery? Get the kids together or have some friends over to your house and make pottery right in your own home.
While your oven is a start to making pottery, there are limitations if you use your oven. An industrial kiln gets much hotter than a conventional oven can. Even pizza ovens - which can have temperatures exceeding 750 degrees - can’t measure up to the extreme heat of a kiln and shouldn’t be used to fire clay. Lower temperatures mean the clay will not react the same in your oven as with kiln fired pottery. The fact that your kitchen oven can't produce the same high level of heat makes creating a pottery piece challenging but not impossible.
Glazing is not possible in an oven. A ceramic glaze needs a temperature in the range between 2124℉-2264℉. That’s hot! Your oven is not able to get that hot, unfortunately. But don’t worry, this does not mean that your pieces have to be boring.
If you are firing in your oven, you can decorate in other ways. For example, acrylic paint can give your handmade pottery some character.
Due to the lower temperatures of a regular oven, your pottery will not get the glassy look. Instead, kiln-dried pottery gets a glossy look from chemical changes occurring at high temperatures.

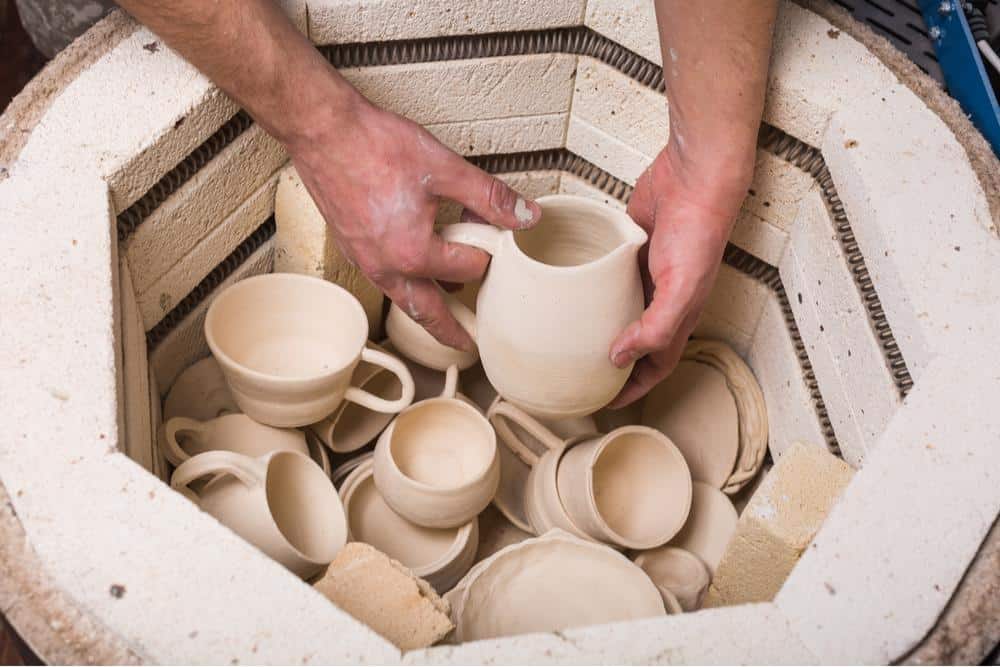
Unfinished pottery being placed in a kiln
Oven-dried pottery is typically not as durable as kiln finished pieces. The finished pieces tend to be quite brittle and fragile.
If you are making your pottery in your oven, be careful. You do not want to break your masterpiece!
Standard pottery clay (or natural clay) is not the best option for oven-finished ceramics. Metal clay like silver clay, gold clay, copper clay, or bronze clay, aren't going to be able to fire properly in your oven. Polymer clay is your best option.
There are many kinds of clay out there to make pottery. Some are naturally gathered from the earth, while others come from a lab. Ancient pottery came from clay straight out of the ground.
Today, minerals are added to natural clay to increase durability of the clay. Different ingredients get mixed in a lab to make some clays.
The best oven bake clay is polymer clay, also known as Original Sculpey. It is made from synthetic materials. Plasticizers, fillers, binders, PVC powder, lubricant, and pigments come together to make a modeling clay that is great for oven baking.
The powdered PVC powder in polymer clay softens into plasticizers to form a rigid plastic piece. This inexpensive clay is an accessible clay to create pottery pieces. It is easily manipulatable into decorative vases, figurines, jewelry beads, etc.

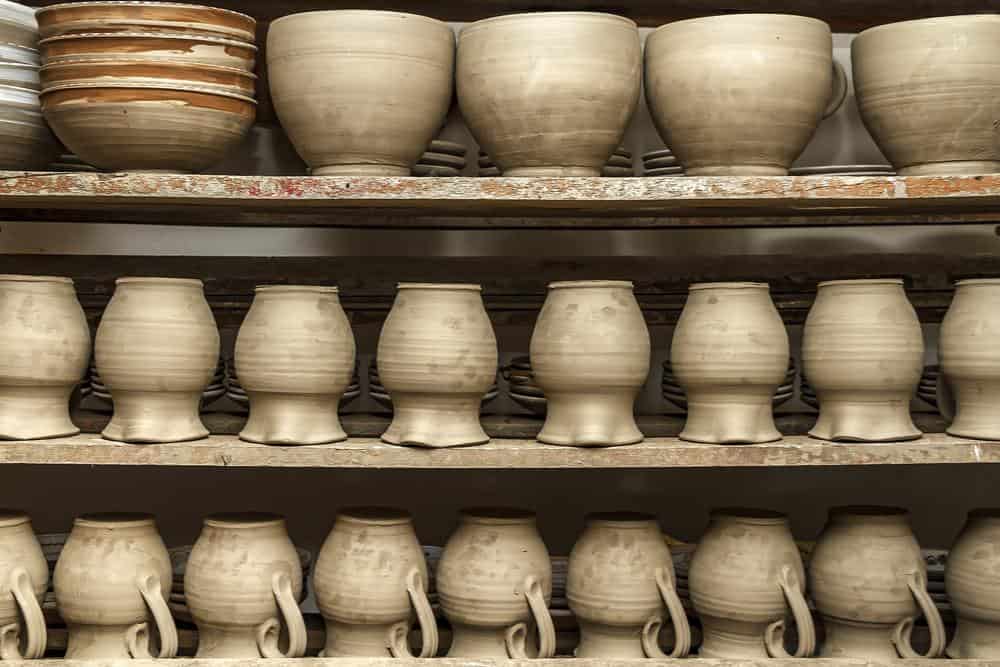
Clay bowls and pots ready to be kiln-fired
You can mix polymer clay with other materials to make mixed creations. It is already pigmented, so the glazing process is cut out from oven baking when polymer clay is used, which is convenient, considering your oven cannot get hot enough to glaze.
This does not mean that you cannot decorate polymer clay after firing. You can use acrylic paint to give your piece more detail.
If you use polymer clay in your oven, timing is pretty easy. The general rule is 15 minutes for every ¼ inch of clay.
For example, if you have a piece that is ¾ of an inch thick, it should be done baking in your oven in about 45 minutes.
You don’t have a kiln, but you want to try something other than your oven for firing clay. There are other options! If you want to do it like the pioneers and build a fire, try pit firing.
If building a fire or turning on your oven seems like too much work, try using air-dry clay for the easiest finish. You can even use a microwave to fire pottery!
According to Soul Ceramic, pit firing is a traditional way of firing clay. It is the perfect method for an unglazed natural look. While most pieces that people pit fire do have an organic look, you can still glaze them. Glazing gives a more embellished, finished look to your pieces.
Pit firing takes place in a pit dug in the ground filled with hot coals. This type of firing requires a well-ventilated area. Ceramic fired by pit firing may be a more fragile finished piece. If you decide to glaze your pit-fired piece, it may be uneven.
Your fire pit needs to be far from combustible materials and animals and children. Since it is low in the ground, pit firing can be dangerous.
Some people use their charcoal grill as their “pit” to dry clay. Whether you use a pit or a grill, pit firing takes anywhere from 12 to 24 hours, depending on what kind of finish you want. Once the pottery is hard, and the finish you want is on it, the pottery may be removed and set out to dry completely.
The easiest tool to dry clay is all around us; air. If not going through the firing process is something that attracts you, consider buying air-dry clay to make your project out of. You can use it for both big and small clay projects.
Air dry clay is typically dry to the touch after 24 hours. The thicker the clay, the longer it will take to completely air dry, sometimes up to 72 hours. If you buy air-dry clay for your project, be sure to store it in an airtight container.
For larger projects, paper-based air dry clay is the best option. Your finished project will dry faster, be less expensive, and be lighter in weight. Resin-based air dry clay is a good option for smaller projects such as pottery.
Your microwave can be used as a kiln. For this to work, you must buy something called a microwave kiln. A microwave kiln is a cylinder-shaped container that is small enough to fit into your microwave. It is made from a porous material. The bottom piece is what you put your potter on, and the cylinder lid covers your piece.
The time it takes to finish a piece of pottery in a microwave kiln varies. It depends on the wattage and size of your microwave. Typically, bisque firing takes between 15 and 30 minutes in your microwave.
Get creative and think up some ideas for clay projects you want to do. Then, go to your local craft store and buy some polymer clay, and get to creating!
Use your oven as an easy way to fire your clay. However, if your oven doesn’t appeal to you, try one of the alternative ways of firing clay.
