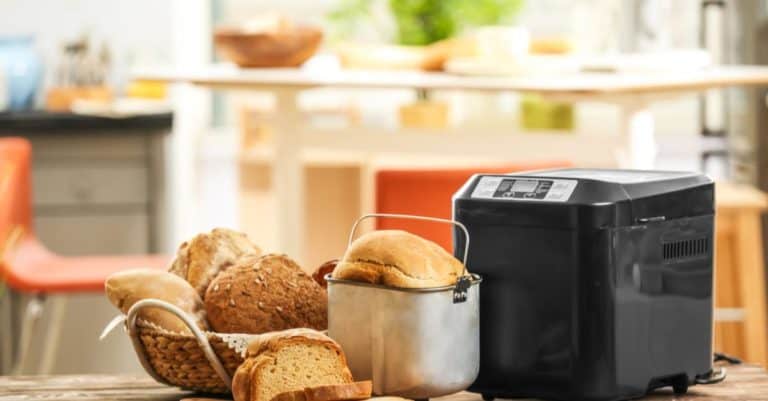
A bread machine is a versatile appliance that simplifies the baking process by automating the mixing, kneading, and rising stages. Its kneading function saves time and effort, as it can knead dough in 10 to 15 minutes.
Bread machines have various settings and cycles, allowing for customization to suit specific recipes. The dough cycle is designed for kneading and rising different types of dough, such as pizza or dinner rolls, without baking them.
This allows for creating various shapes and styles of bread while utilizing the kneading function.
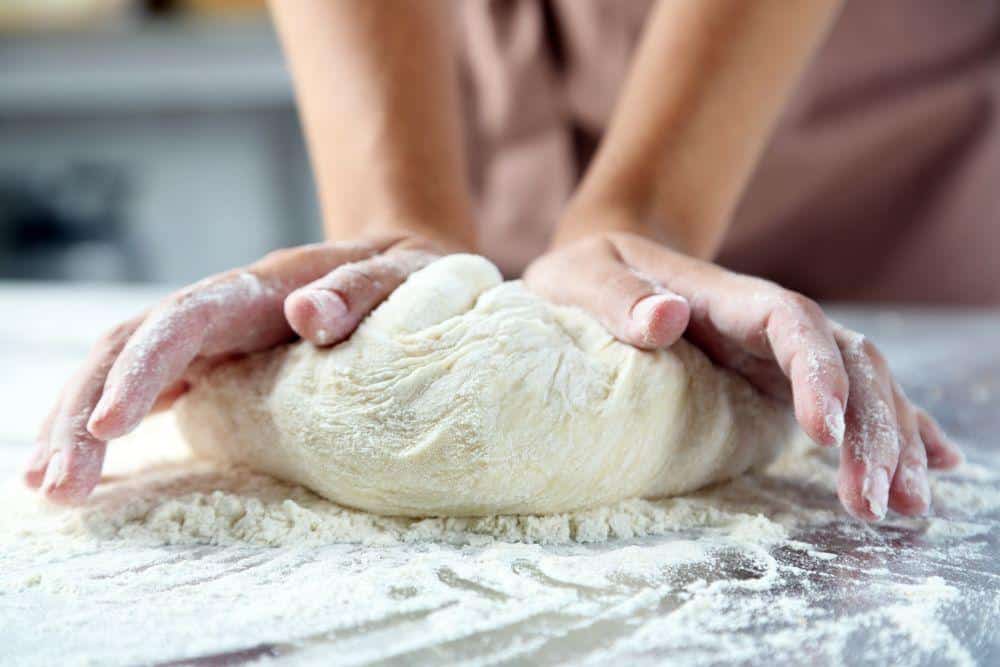
Using a Bread Machine to Knead Dough Cuts Down on the Labor Intensive and Messy Task of Manually Kneading Dough
Using a bread machine ensures even kneading and mixing, minimizing the risk of overworking or under-kneading, resulting in high-quality bread with the right texture and taste. However, it is essential to weigh the costs and benefits of using a bread machine before purchasing one, as it can be an investment.
Choose the bread machine that best suits your needs and preferences, and you'll be well on your way to creating delicious homemade bread.
Flour forms the foundation of your dough. Choosing the right type of flour is crucial, as it affects the bread's texture and taste. Commonly used flours include all-purpose, whole wheat, and bread flour.
Water is also essential as it hydrates the flour, allowing the formation of gluten, which gives bread its structure. The ideal ratio of flour to water varies depending on the recipe.
Yeast acts as a leavening agent. It ferments the sugars in the dough, producing carbon dioxide that makes it rise. Using the correct amount of yeast is crucial to achieve the desired bread texture.
Wet ingredients, such as milk and eggs provide moisture to the dough and help in the mixing process. They also contribute to the taste and texture of the final bread.
Dry ingredients, like sugar, and salt, provide structure and flavor to the bread. They must be properly combined with wet ingredients to form a cohesive, elastic dough.
Now that you're familiar with the key ingredients in breadmaking, you can confidently use your bread machine to knead dough, easily creating delicious loaves.
When you want to use your bread machine for kneading dough, it's essential to utilize the dough cycle. This cycle is specifically designed for kneading and resting the dough before baking it in a conventional oven. To successfully use the dough cycle, follow these simple steps:
First, put all your ingredients in the bread machine in the order the manufacturer recommended. Make sure the ingredients are at room temperature for optimal results. Once all the ingredients are in the machine, choose the appropriate dough setting and start the kneading process.
During the dough cycle, your bread machine will mix, knead, and allow the dough to rise appropriately. The kneading process typically takes about 15–30 minutes, and the resting period allows for the dough's first rise.
If your recipe doesn't require rising, you can stop the dough cycle after the kneading is finished.
One advantage of using a bread machine for kneading is that it can provide consistent, even kneading, making your dough easier to work with and resulting in a better final product.
Additionally, using a dough cycle in a convection bread maker can result in quicker, more even baking due air circulation with the fan’s help.
Once the dough cycle is complete, you can remove the dough from the bread machine and shape it into your desired form. Whether you're making bread, pastries, or even pizzas, the dough from your bread machine will be ready for baking in a conventional oven.
With these steps, you can confidently reap the benefits of both the kneading process and the convenience of a bread machine. Enjoy experimenting with different recipes and creating delicious homemade bread with ease.
A step-by-step guide to master the dough cycle!
Before starting the first rise, make sure your bread machine fully kneads the dough. Precision is crucial to achieving the desired dough consistency as you measure the ingredients.
After kneading, let the dough rest and rise in the bread machine for the first rise. This process usually takes about 15–30 minutes, depending on the specific recipe and machine settings.
Keep in mind that certain recipes, like Indian chapati or puri, don't require the dough to rise, so stopping the cycle after 10–15 minutes of kneading is sufficient. 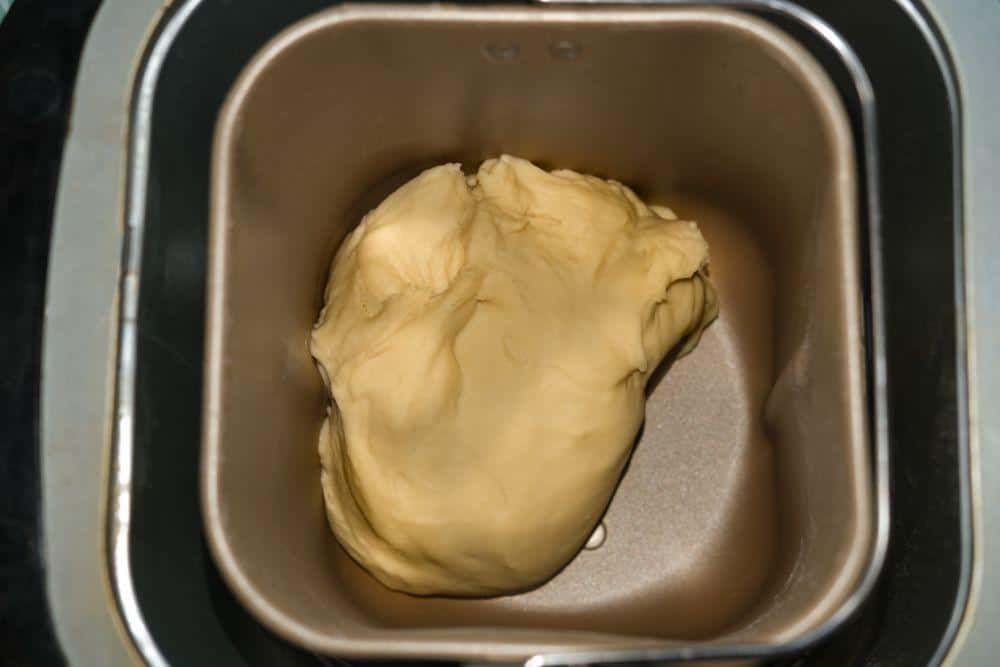
Dough in a Bread Machine Pan
Pro tip: To enhance the dough's rising process, you can create a warm environment by covering it with a damp towel or plastic wrap. This method helps retain moisture and provides a cozy temperature, promoting better rising and proofing.
Once the dough completes its first rise, you'll need to assess its consistency. Ensure that it has doubled in size and has a soft, elastic texture. If not, you may need to let it rise for an additional length of time.
Now that your dough is ready, you can shape it into a loaf or any desired shape, depending on the recipe you're following. Place the shaped dough on a greased baking sheet or in an appropriate baking pan and let it rest for a while.
After shaping the dough, it's time to prepare it for the second rise. First, remove the dough from the machine and place it on a lightly floured surface. Gently form the dough into a round, smooth ball. This process helps to develop the texture and gluten structure of the bread.
Next, let the dough rest for a few minutes to relax the gluten strands. This allows you to properly shape the dough into its final form. Depending on the bread you're making, you might shape it into a loaf, a round boule, or twist it into a unique design.
Remember, the shaping process is essential for giving your bread its final appearance and texture.
Once you've shaped your dough, place it seam-side down in a greased or floured proofing basket, loaf pan, or parchment-lined baking sheet. Cover the dough loosely with a clean cloth or plastic wrap to prevent it from drying out during the second rise.
The purpose of the second rise is to allow the dough to continue fermenting, developing flavor, and improving texture.
The length of the second rise depends on various factors, such as dough temperature, humidity, and yeast activity. Generally, it can last anywhere between 30 minutes to 2 hours, or even longer for some slow-fermented breads.
Keep in mind that under-proofed dough may result in a dense texture, while over-proofed dough can become slack and lose its shape. Thus, finding the right balance during the second rise is crucial to achieving your bread’s optimal crumb and crust.
Throughout the second rise, your dough should increase in volume but not necessarily double in size. To check if it's ready for baking, gently press a fingertip into the dough. If the indentation slowly springs back, it's time to preheat your oven and prepare for baking.
Remember, you don't need a bread maker to make impressive loaves; shaping and properly preparing the dough for the second rise are just as important for successful bread baking.
A bread machine isn't the only option for kneading dough when making bread. One popular alternative is using a stand mixer with a dough hook attachment. It provides more control over the kneading process and allows you to adjust the speed and duration for optimal gluten development.
A Stand Mixer Can Also Be Used as Part of the Dough Preparation Process
Another option could be using a hand mixer with dough hook attachments. While it might not be as powerful as a stand mixer, it offers convenience and easy control.
Make sure to choose a well-built hand mixer that can handle the strain of kneading dense dough.
There are also traditional methods, like kneading by hand on a work surface. This technique involves folding, pushing, and stretching the dough, which helps to develop the gluten structure and incorporate oxygen into the dough.
Some bakers prefer this hands-on approach, as it allows them to feel the texture and elasticity of the dough, resulting in the desired consistency.
Lastly, there are commercial machines specifically designed for dough processing. These machines are usually larger and more specialized and are often used in commercial bakeries.
However, they might be worth considering if you produce large quantities of bread or need a more automated solution for kneading dough.
Remember that each technique has its pros and cons, so experiment to find the one that works best for you.
Adapting your favorite bread recipes for a bread machine is a great way to enjoy homemade bread without the hassle of kneading and proofing. To ensure successful results, follow these tips:
First, always measure your ingredients precisely. Accurate measurements are essential for the bread machine, as small variations can significantly impact the dough's consistency.
Use a liquid measuring cup for wet ingredients and a set of measuring spoons for dry ingredients such as yeast, salt, sugar, and oil.
Next, be mindful of the ingredient order. Typically, you add liquids to a bread machine first, then dry ingredients, and finally yeast.
This order differs from traditional baking recipes, so you will need to adjust accordingly.
Another important factor is the type of yeast you use. Some bread machine recipes call for bread machine yeast or instant yeast, which are specially designed to work well in this appliance.
When converting a recipe, you may need to adjust the yeast amount accordingly. For example, if your recipe calls for active dry yeast, you might need to use less instant yeast to achieve the same results.
It's also crucial to adjust your bread machine’s baking time and temperature settings. Most machines have pre-programmed settings for specific types of bread, but you may need to fine-tune these settings for your specific recipe.
Pay attention to the color and texture of the finished bread to determine if further adjustments are necessary.
Finally, don't be afraid to experiment with different recipes and settings on your bread machine. You might find that certain types of bread work better in the machine, or that adjusting the ingredients slightly can lead to better results.
By following these tips, you'll be able to adapt your favorite baking recipes for your bread machine, allowing you to enjoy the convenience of this appliance while still savoring the quality and taste of homemade bread.
You may even save money in the long run by baking your bread instead of buying it from the store.
Using a bread machine for kneading dough offers convenience and saves time, but you can still incorporate your personal touch. You can enhance the flavor and texture of your bread by adding ingredients like nuts and fruits.
Before starting your bread machine, measure and prepare the desired nuts or fruits. Choose options like walnuts, almonds, raisins, or dried cranberries. Chop larger nuts into smaller pieces for better distribution throughout the dough.
Carefully remove the dough once your bread machine has completed the kneading cycle. Gently fold the prepared nuts and fruits using your hands or a spatula. Be sure not to overmix and distribute your personal touch ingredients evenly within the dough.
Place the dough back into the bread machine for the final proofing and baking stages as usual. Alternatively, you can also shape and bake the dough in a conventional oven after incorporating your personal touches.
Once your bread machine finishes kneading the dough, remove it gently from the machine. Shape the dough into a smooth ball for a versatile sandwich bread by folding the edges towards the center.
Then, transfer the dough to a greased loaf pan. Cover the pan using a dish towel. You’ll then wait around an hour to an hour and a half to allow the dough to rise (it should approximately double in total size).
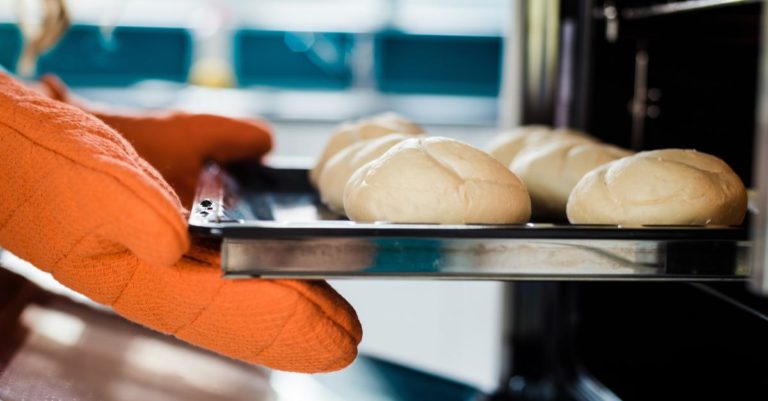
Preheat your oven to 350°F (180°C). Place your well-risen dough in the oven and bake for 30–40 minutes.
Tapping the top of the loaf is a tried and true method determine if your bread is thoroughly baked. Just listen for a hollow sound - in which case you’ll know that your bread is ready.
Take it out of the oven and remove it from the loaf pan to cool on a wire rack.
If you prefer dense bread, reduce the rising time to achieve a smaller, denser loaf. For flatbread, divide your dough into smaller portions and roll out each piece using a rolling pin.
Preheat a pan or skillet on medium heat, and cook the rolled-out dough on each side until golden brown for a few minutes.
It's time to cool and store your homemade bread. When you take your bread out of the oven, place it on a cooling rack to allow air to circulate around it evenly, helping it cool and retain its texture.
Once it cools completely, transfer your bread to a clean surface. When storing your homemade bread, wrap it in plastic wrap, then two layers of foil before placing it in a 2-gallon zipper-lock bag.
This prevents it from drying out and keeps it fresh for longer, maintaining its delicious taste and texture.
To enjoy your frozen bread, remove it from the freezer and thaw it in the refrigerator overnight. Next time you want to bake some bread, grab your stand mixer and give it a go.
You'll soon find that homemade bread has an unbeatable flavor and texture, sure to impress your taste buds!
Zojirushi Virtuoso and Its Benefits
The Zojirushi Virtuoso is a versatile bread maker offering numerous advantages for both beginners and experienced bakers. Its construction ensures BPA-free and Teflon-free appliances, allowing for confident baking. The bread maker features dual kneading blades for thorough mixing, resulting in better rise and texture.
It also comes with pre-programmed settings for various types of bread baking, including whole wheat and multigrain. Customizable settings make the process even more enjoyable.
When choosing a bread maker, consider factors like ease of use, functionality, and reliability. The Zojirushi Virtuoso meets these criteria, making it a great investment for any home baker.
Yes, bread machines can handle most types of dough, including white, wheat, and gluten-free. However, certain dough types, like very wet or stiff dough, might need special attention or even manual intervention.
Refer to your machine's user manual for guidance on handling specific dough types.
In most cases, you can use standard dough recipes in your bread machine, though you may need to slightly adjust the amounts of ingredients to fit the machine's capacity. Accurately measuring the ingredients is also vital for getting the best results.
Remember to consult the user manual for any specific instructions on modifying recipes for your machine.
Most bread machines have a dedicated "dough" or "knead" cycle that combines the ingredients, kneads the dough, and allows it to rise. Consult the user manual for instructions on selecting the appropriate cycle for your specific dough type.
Some machines may offer multiple kneading cycles for different dough types, like pizza dough or sweet dough.
Yes, once your bread machine has finished the kneading cycle, you can remove the dough, shape it, and bake it in a conventional oven. To do this, follow your machine's instructions to complete the kneading and first let the dough rise inside the machine, then transfer the dough to a prepared baking pan or sheet for oven baking.
This method allows you to have more control over the final shape and appearance of your baked goods.