That first cup of coffee in the morning is a treasured routine for many. Whether you’re an iced coffee fan, love your espresso, or simply love brewing coffee in general, It can be frustrating to discover something is wrong with your coffee maker.
No one wants to find their countertop covered in water leakage when they're just trying to start their day. Lucky for you, these are the top suggestions to find out why your coffee maker is leaking from the bottom; and how to fix them.
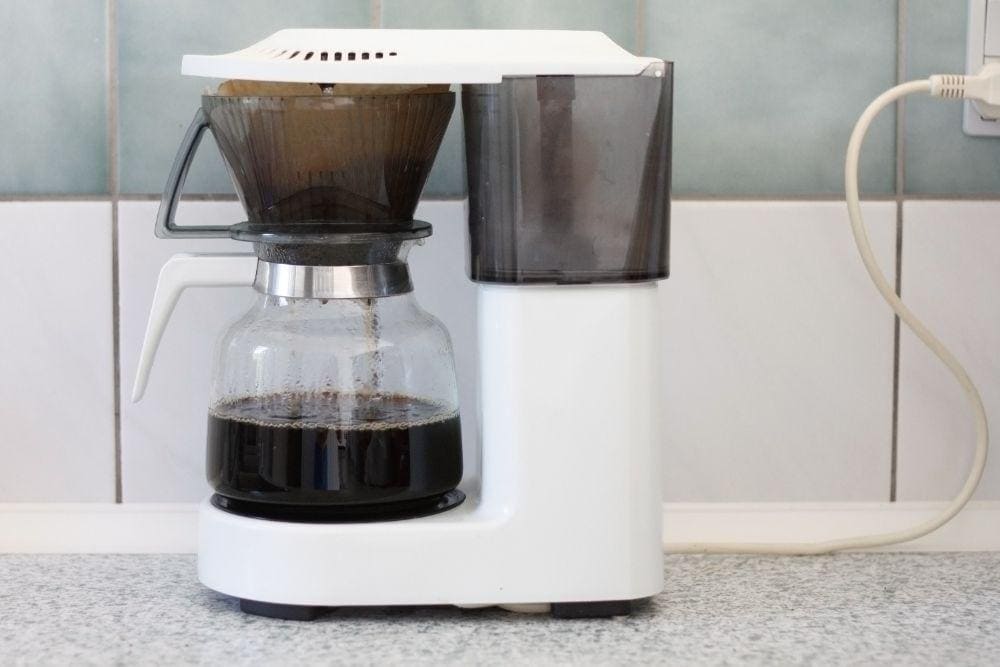
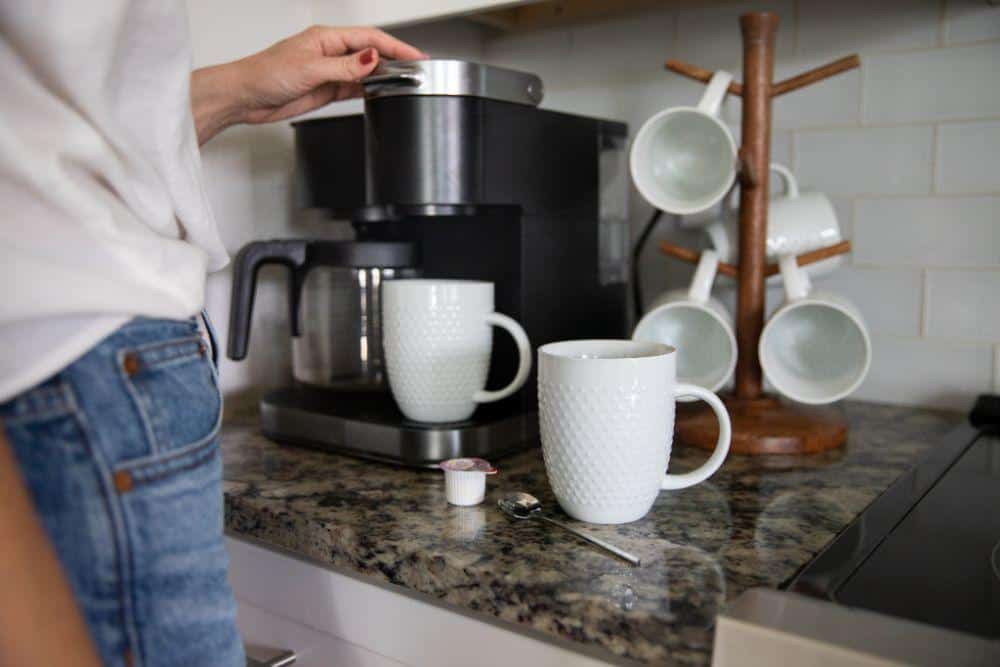
Stopping the Leak Coming From the Reservoir in the Cuisinart Coffee Center
This is one of the most likely culprits if you have a water leak. It's possible for there to be cracks in the coffee pot's glass; caused by daily wear and tear. Upon closer inspection, you should be able to see them right away if they're large enough.
But others may be small, hairline fissures that are difficult to detect.

Check Your Coffee Pot for Cracks - Hairline Fractures Can Result in Coffee Escpaing
To spot these, you can empty the coffee pot and dry it thoroughly. Check very carefully to make sure there is no moisture left inside or outside of the pot. Then fill it to the top with water.
Once that's done, you can visually inspect the glass to see if you spot water.
If you're unable to notice anything, take a dry paper towel and gently dab around the pot. If the paper towel comes away damp then you've discovered the problem.
For some brands of coffee makers, such as Mr. Coffee or the Cuisinart coffee maker, you can order a new replacement pot as the glass is not repairable.
Much like with the coffee pot, it's possible for there to be cracks or flaws with the water reservoir of your Keurig Coffee Maker. You should follow similar methods as above for your Keurig Leak.
Remove the reservoir or drip tray and dry it thoroughly, then add water again and pat the outside to see if you can detect any moisture. If the paper towel comes away damp, this indicates water leakage- you will need to order a new reservoir from Keurig as they cannot be repaired. 
Examine the Resevoir of Your Coffee Maker for Problems
Your coffee maker will heat water to make your coffee. When this happens, there's a breakdown of different molecules, and over time you will develop a mineral buildup in your maker.
This will clog valves and cause water to leak out of your machine.
Thankfully most coffee makers have a simple descaling process so that you can clear away the buildup and get your machine working again in no time.
You must check your coffee maker for build-up. If you don't, you risk clogging lines and water valves which can lead to costly replacements depending on the machine.
Keurig has a very detailed page listing the entire process. But some brief points from their page:
The Moka pot calls for it to be washed with soap and water to clean and away the worst of what builds up in the pot most of the time. However, it's suggested that if you have hard water in your area, you can take a 2:1 water to white vinegar solution to break down the minerals.
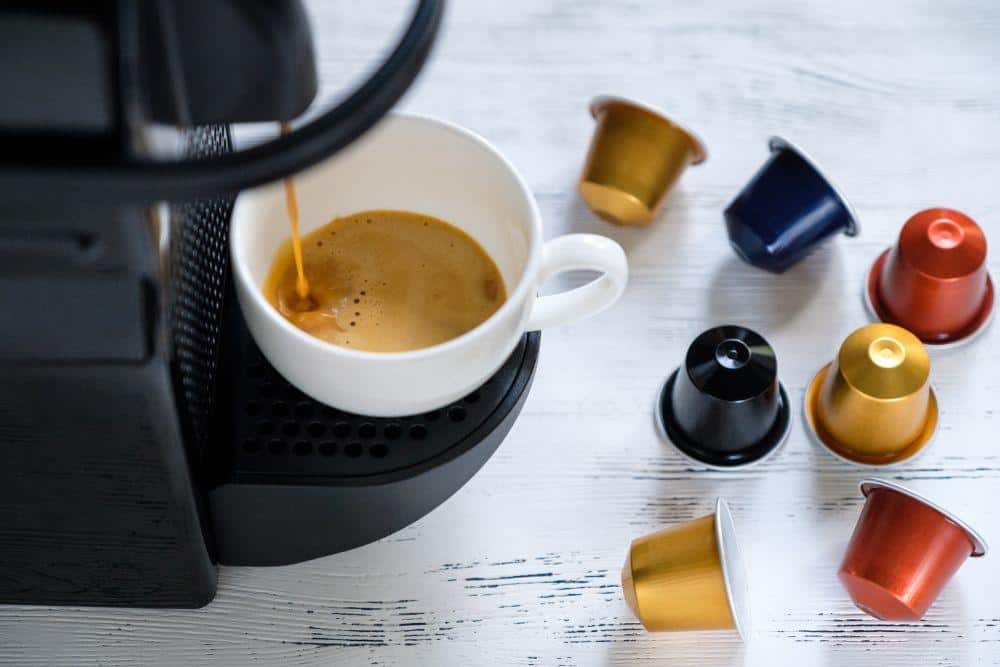
For espresso machines, the specific process will vary from machine to machine. You must check the manual on your espresso maker because it will contain valuable information on performing the descaling process.
But as the Moka pot mentioned earlier, it is possible to descale an espresso machine with water to white vinegar solution, or like the Keurig, with a specially made descaling solution.
Mineral build-up can also end up damaging the valve pump in your machine. When this happens, it's difficult for hot water to circulate properly in the coffee maker, and water can leak in unexpected places.
The solution to this is to first try descaling as mentioned above. If that doesn't work, you can attempt to access the pump and see if manually removing the debris from the valve pump solves the problem. If the part can't be cleared, you may need to purchase a new part.
In all situations, you should ensure to consult the user manual on your Keurig, Moka pot, or espresso machine. This manual should have come with your coffee maker, but if you've lost it, you can find it online.
In some coffee makers, such as a Keurig, there's a silicone hose that runs water through the machine. Because the nature of the coffee maker is to run hot water through it, the breakdown of this material is inevitable. The silicone is heated, then cooled, sometimes multiple times over a single day.

Check Any Water Lines Within Your Coffee Maker for Loose Connections or Leaks
It's also possible for there to simply be a flaw in the material itself. It can be damaged during assembly and that damage goes unnoticed until the coffee maker is in use.
Thankfully changing out the tube is very simple. It requires little mechanical know-how. You'll need to order a new tube, which can be done online or at a local supply store. Then it's simply a matter of cutting it to fit, removing the old piece, and replacing it.
This is an issue that's limited to the Moka pot. As this a Moka pot comes in two parts, it requires you to screw the top piece into the boiler. If you've ever incorrectly tried to screw an attachment onto a hose, you can imagine what could go wrong here.

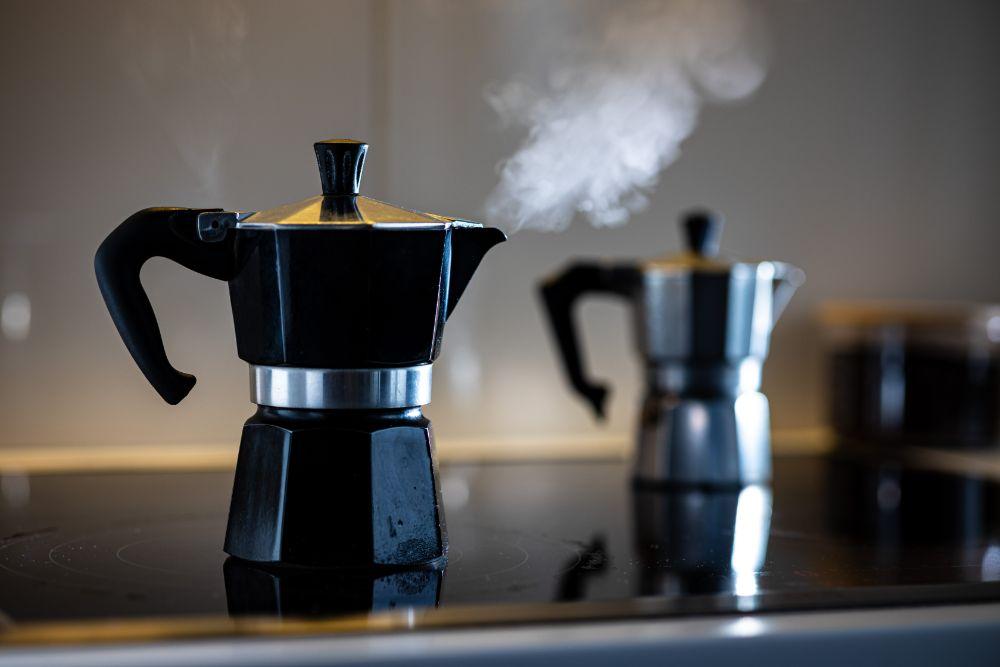
A Moka Pot Consists of Two Parts Connected Together
First and foremost, give the Moka pot an extra twist. If the two parts are not screwed together tightly, you can end up with leaking water.
Sometimes this is just a misalignment of the threading. In which case, you need to detach and attempt to screw them back together with the proper alignment. This should be an easy fix.
If it's not a misalignment, you will need to check the rubber gasket between the filter lid and basket. Like the water hose, the gasket is vulnerable to temperature abuse and aging. It can crack or become misshapen over time, both of which can lead to a leaking coffee maker.
This is not something that can be replaced and instead will need a replacement. You will need to check your brand of Moka pot to find what gasket is appropriate, but they're typically cheap and easy to purchase.
You will also need to check to see if the gasket is in the correct location. It's not uncommon for a brand new Moka pot enthusiast to assemble the pot incorrectly.
Check the instructions, look at the diagrams, and ascertain that you have placed the gasket between the filter lid and basket. Following these steps can help make sure that you avoid leaking water or coffee in the future.
