Whether it’s your first freezer or fifth, a crucial thing to consider upon installation is how you’ll protect the vulnerable floor underneath. While your appliance will cover it constantly, rendering it an ‘out of sight, out of mind’ situation, lack of proper action can cause irreversible damage to the floor of your home if something does go wrong. With different flooring comes many types of damage!

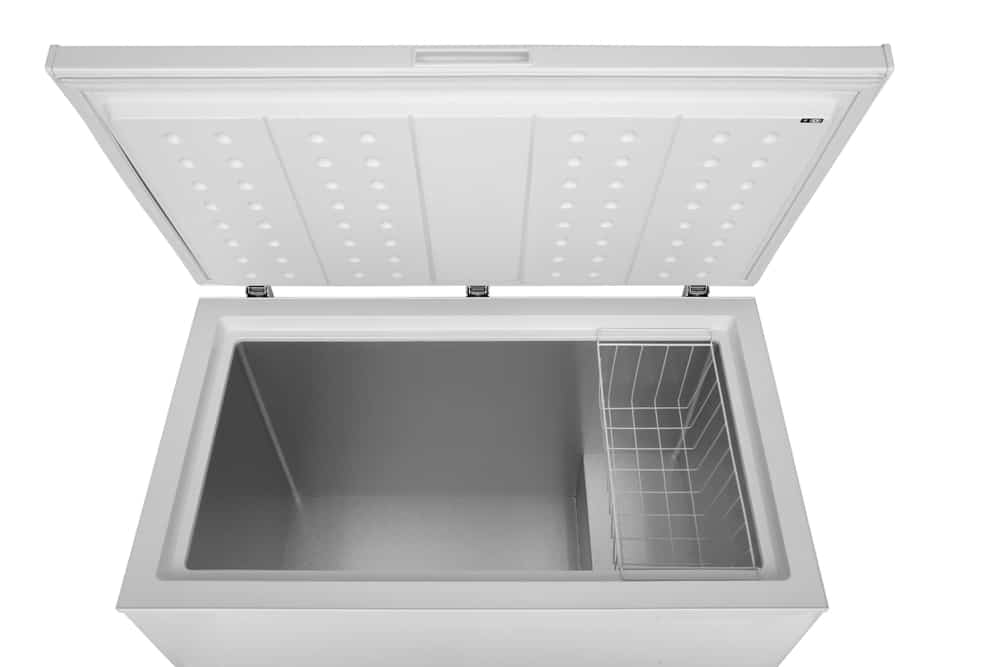
View of a freezer from above
Expensive and beautiful hardwood can become warped from water damage. Vinyl and tile can become scratched beyond recognition. A saturated carpet produces mold, which then presents a health risk. While these issues sound like economic nightmares, thankfully, exercising precautionary measures during installation will keep the floor under your freezer safe.
We have done our research, so you don't have to. While we aren’t experts, we’ve accumulated enough information and evidence to confidently present this guide to you. We’ve read and have seen different methods that work for all different flooring types. Our goal is to ensure you avoid preventable problems.
In our next section, we’ll first walk you through how to protect the two most vulnerable types of flooring: carpet and wood. Then we'll touch on other common floorings, such as vinyl and tile, to provide suggestions for your flooring type.
While a hardwood floor is one of the best surfaces for your chest freezer, its quality doesn’t protect it from possible damage. Any leaking water from the unit can result in swelling, buckling, discoloration and odor from mold. Though possible damages will vary in severity, continued exposure will create worsening conditions and result in replacement rather than repair.
These consequences can cause additional expenses in getting a new wood floor. The time dedicated to such a project is lengthy and inconvenient. Attempting to repair your floor can result in wasted time and money, especially if you discover later down the line that the damage is beyond repair.
Hiring a professional will be expensive enough if one ignores the cost of replacement materials or the time it takes for those resources to get to you. The best point of action is to focus on preventing damage in the first place, and there are a few different ways to go about doing that.
The best way to protect wood flooring from staining, warping and buckling is to install a drip pan under your freezer. Auto defrost freezers have a drain hole or drain tube that drips excess water into this drip pan (also known as a drain pan).
While you’ll need to closely monitor the drain pan to check for leaks if you suspect any or know of a recent power outage, the drip pan helps in containing possible leakage to present an easier cleanup that doesn’t touch your floors.
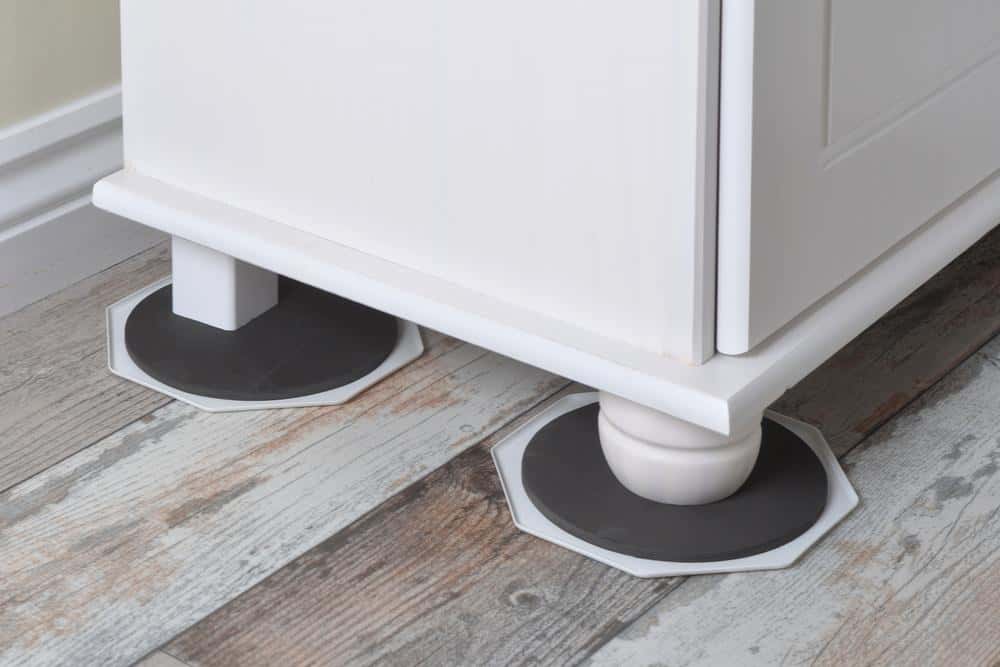
 Photo of furniture sliders on a hardwood floor
If you need to occasionally move the position of your freezer, furniture sliders can help
Checking the drip pan regularly is a must, as mold can still grow. Regardless of the protection method you use on your floor, you’ll always want to prevent mold.
Additionally, placing a mat of any material (plastic or rubber is best) between the wood and the bottom of the freezer will prevent any scratches on the flooring if you expect to move the freezer any time after installation. If you can avoid scratches, you won’t have to replace sections of your flooring as often.
Another thing to consider purchasing if you envision that your freezer will need to be frequently moved are furniture sliders. Furniture sliders make it easier to move a heavy appliance like a freezer across smooth hardwood floors. Just make sure that you move your drain pan as well.
If you find yourself placing a freezer on the carpet, it’s best to prepare for a few different problems that may arise and result in damage to the flooring. First, any prolonged moisture or dampness on your carpet will preserve and encourage mold growth.

Placing a freezer on carpet isn’t recommended due to mold concerns
Without protection in place, mold growth can result in a need to replace your carpeting. It also presents health risks like fever and fungal infections.
Secondly, the placement of a freezer directly on the carpet allows the possibility for the appliance to sear your carpet. Since the carpet will be absorbing the heat released from the coils and compressor from the freezer, over time, the carpet may become burned without space from the hot temperatures.
Carpet can also become discolored or faded, which may be unsightly.
Homeowners can utilize many preventative measures during installation to avoid these problems. To prevent mold, buying a drip pan is necessary because it keeps the water from reaching your carpet.
Mold doesn’t take long to form following water damage and presents a possibly costly repair. Removing mold can be a difficult ordeal, if it’s left unattended or found too late, so it’s best to be proactive while also embracing preventative measures.
If mold does occur, it’ll be easier to maintain following safety measures such as a drip pan. Otherwise, you may need to hire a professional to help clean things up. Even though the manual labor will cost you, hiring workers is safer than trying to remove entire sections of mold from flooring or carpets.
To prevent possible scorching, it’s necessary to put space between the carpet and the freezer. Keeping your freezer elevated will help, and the best way to do this task is by placing a plank of wood that shares the dimensions of the bottom of the freezer under the appliance and above the ground.
Additionally, placing a mat of plastic or rubber material can act as an extra barrier between the drip pan and the floor to further protect your carpet from mold and burns. While it’s best to install your freezer on other floorings, these safety measures will help if the carpet is your only available option.
Tiled flooring is one of the best places to place your freezer due to being water-resistant and hard enough to resist denting. To assist in easy cleanup - because accidents happen - you may want to install a drip pan in case of flooding, especially since grout in the tile may help the water spread or make any other leaking liquids harder to contain.
Another action you should take is a protective mat between the floor and the freezer, made of either rubber or plastic material. These mats help ease things along if you need to move the freezer at any time to protect your floor from scuffs and scratches. It is also a way to keep the freezer completely off of the floor if you want a barrier.
Vinyl flooring is another strong flooring for your freezer. Vinyl flooring is also not only water-resistant but extremely easy to clean for when problems, like a leak, do occur. Some minor damages might come up, such as scratches when first installing the freezer and if you move the unit later.
Homeowners might consider using a drip pan with vinyl flooring as well, again for the ease of cleaning. While vinyl flooring is much easier to clean than other floors, anything extra to help is worth the effort.
In addition to a drip pan, installing a mat would also be helpful to prevent the possibility of scratches and scuffs from you placing the freezer down and later moving it to a new position. Since vinyl flooring, especially lighter colors, displays every scratch mark, a mat or old towel could spare you frustration.
