Did you know that the bay leaf can serve as both a flavorful herb and a privacy hedge? Your friends might not be as impressed by this fact, but they’ll undoubtedly love to eat the meal you prepare cooking with fresh bay leaves.
Bay leaves are used to provide additional flavor and are an essential ingredient in a variety of recipes like:
I firmly believe that bay leaves are an under-the-radar kind of herb, given that you don’t eat them. However, drying bay leaves has increased my appreciation for their use in the kitchen.
I’ll give you a step-by-step guide on how to dry bay leaves in your oven, along with sharing the following:
Before we talk about drying bay leaves in your oven, it’s essential to know the kind of bay leaf you’re working with.
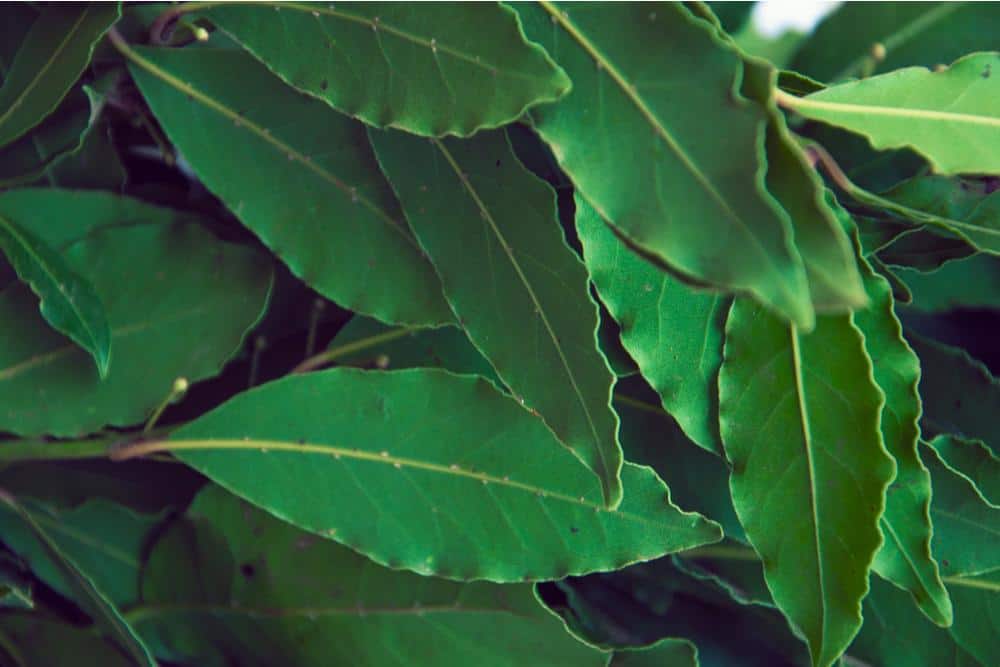
You most likely have the California bay leaf plant growing in your yard, which contains longer, thinner leaves. In contrast, you’re probably used to purchasing Turkish bay leaves from your grocery store. A Turkish bay leaf will have a, as these have a slightly more potent and mintier flavor. The Turkish bay leaf is also referred to as a Mediterranean bay leaf or a European bay laurel leaf as it grows on a bay laurel tree (which is actually more of a shrub than a tree).
So, don’t worry if your bay leaves dry to different proportions or have a distinct taste; it likely has nothing to do with your oven skills.
Bay leaves come from the evergreen plant Laurus nobilis and produce leaves that you can cultivate throughout the season, though one time is better than others. So, read on to learn how to dry bay leaves in your oven.
If you thought a bay leaf was a bay leaf, I’m about to change your mind. Bay leaves change flavor as they age, with the taste becoming bolder the older they get. That’s different from most other herbs, which have a stronger flavor when they’re young.
Given that you shouldn’t chew and swallow bay leaves, it’s crucial to pick the older ones from plants at least two years of age. Furthermore, choose leaves with a dark green color and those free of cuts and damage.
Fresh bay leaves
I also recommend picking fresh bay leaves in the morning but after the sun dries the morning dew to have an ideal flavor balance.
Bay leaves grow well above the ground, so you shouldn’t have to battle with cleaning much dirt. However, it’s essential to wash them with water to remove pesticides and natural wastes.
Then, shake the leaves and pat them dry with a paper towel. The goal is to remove all the external moisture, as it’ll reduce the time required for the overall drying process.
Pull out your favorite baking sheet and lay your clean bay leaves on it. You’ll need to harness a bit of patience, as it’s best to line them side by side without touching each other.
That way, you’ll maximize the heat that reaches them, ensuring an even drying experience and potentially reducing the time you need to leave your oven running.
Set your oven to 200 degrees Fahrenheit. Putting it at a higher temperature than that is risky because your bay leaves could burn around the edges, creating an off-putting flavor that you won’t want your dried herbs to have.
Drying bay leaves in the oven is an excellent opportunity to get some small household chores done, as you’ll need to remain near your oven-you should flip the leaves every 20 minutes. Doing so will ensure they dry evenly.
It’ll be up to you to determine when the leaves are dry enough. Depending on their thickness and the quality of your oven, you can expect to have dried leaves within one to two hours.
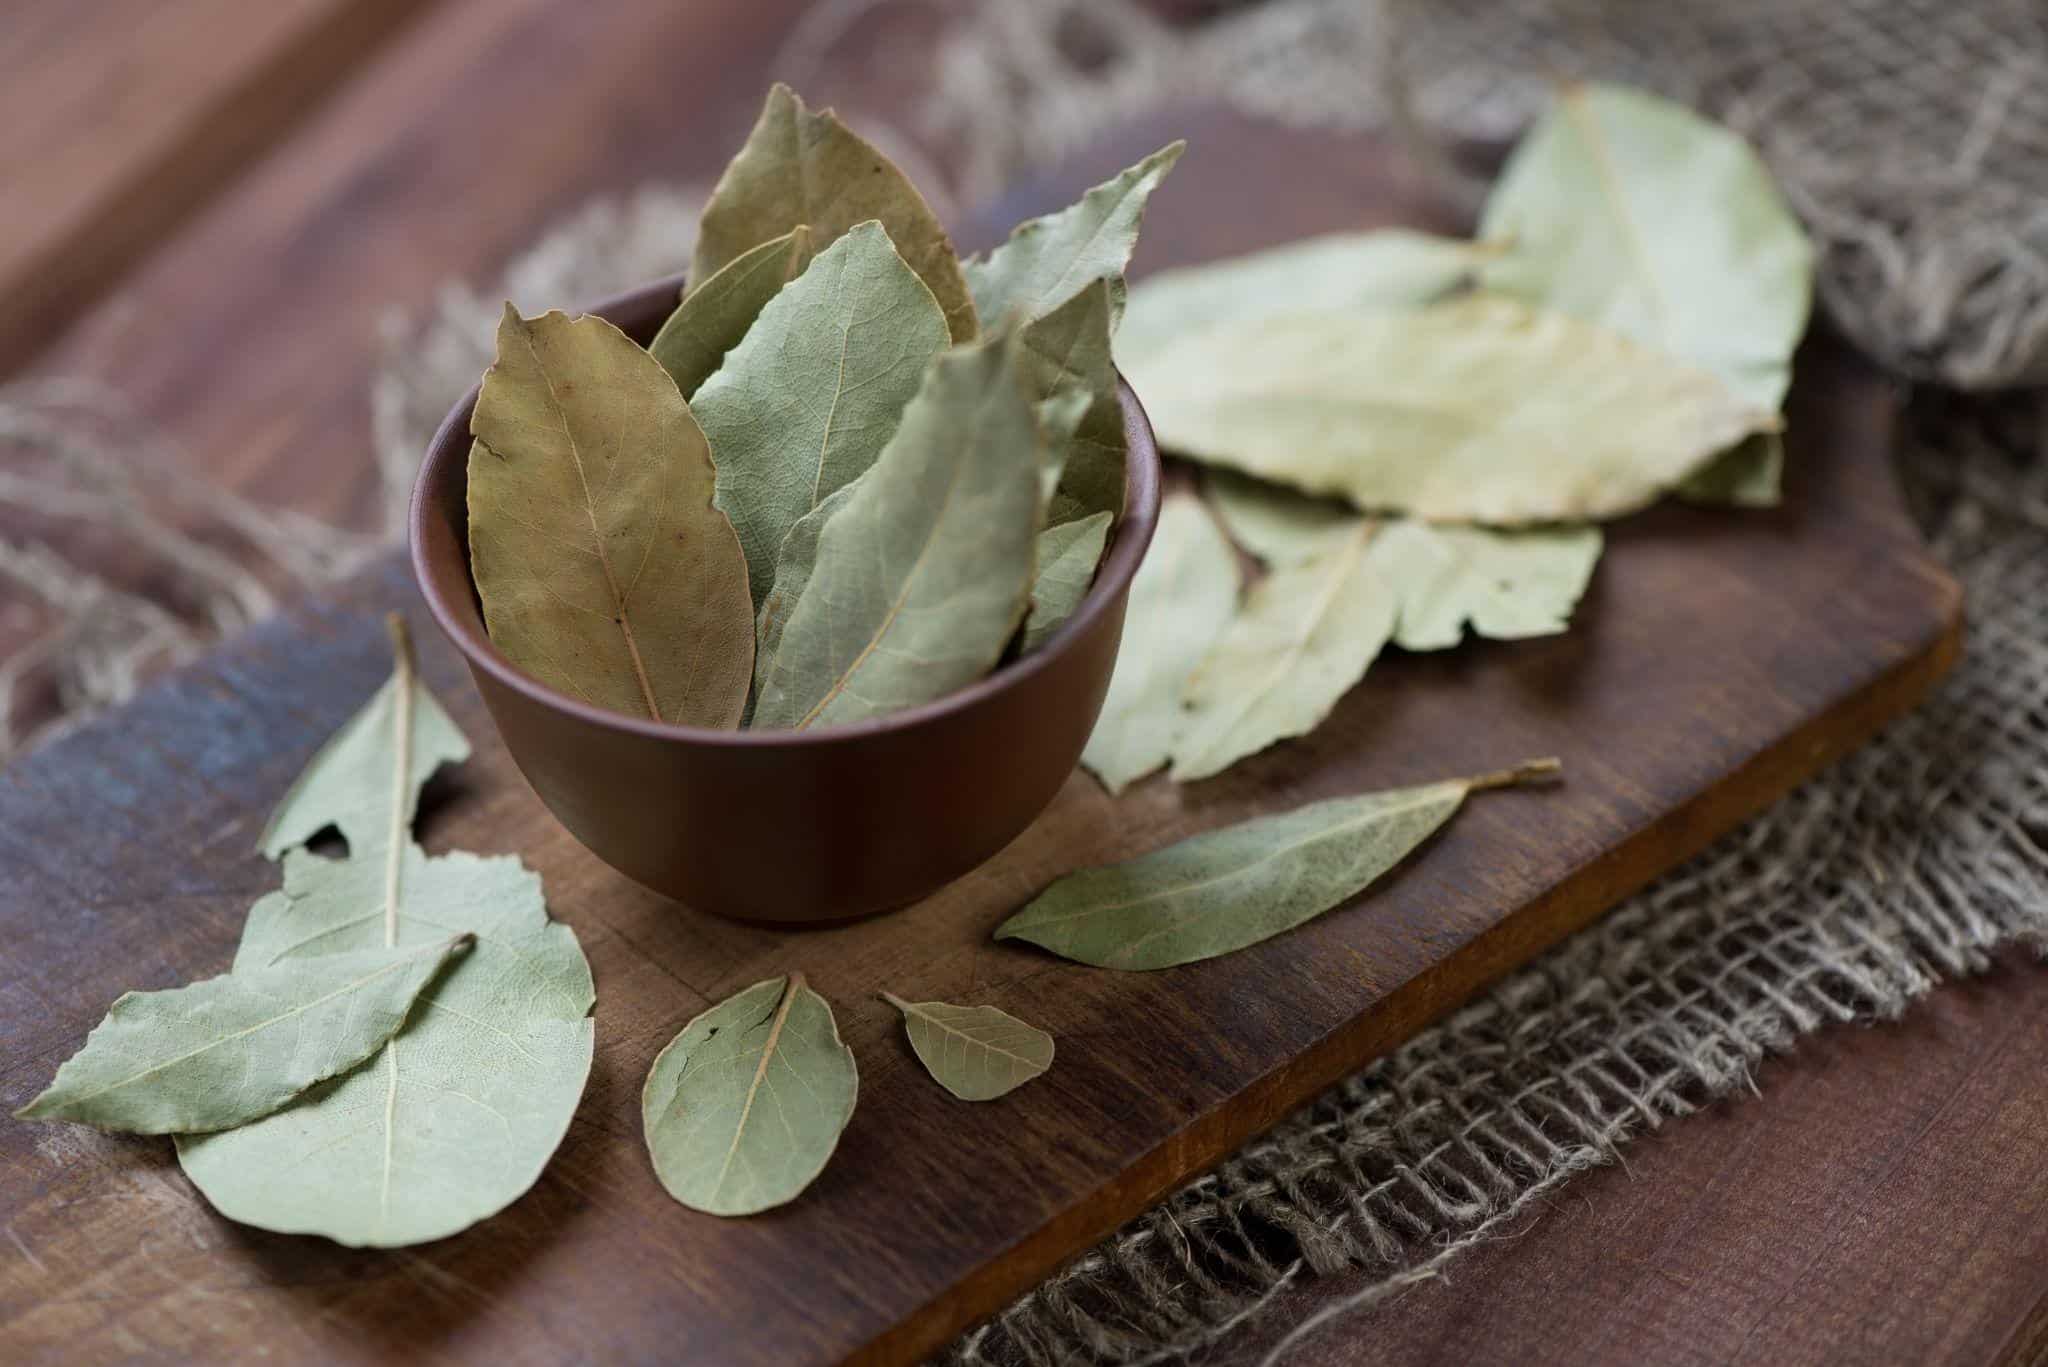
Dried Bay Leaves
Drying bay leaves yourself instead of buying them at a store will produce dried leaves that remain a brighter green and retain more natural oil.
So, now that you know how to dry bay leaves in your oven, below are some strategies I recommend for maximizing success.
Before you pluck a fresh bay leaf off your plant, it’s vital to know that doing so can injure it. Instead, you should use scissors or secateurs. Ensure they’re sharp so that they cut flawlessly, meaning that you’ll leave behind an intact bay leaf plant that’ll continue producing fresh herb leaves.
Bay leaves produce oil, which is what helps them flavor food. Their oils are the strongest during midsummer, which is an excellent harvest time.
After you harvest bay leaves and go to clean them, it’s best to use cold water. The reason is that warm or hot water might dilute the flavor, making you go through the process of drying herbs without the result you were expecting.
Now that you have a pile of oven-dried bay leaves, you’re wondering how to store them. I recommend keeping them in one of the following:
Regardless of the storage method you use, the goal is to seal your bay leaves so that air can’t reach them. Otherwise, you’ll reduce their shelf life. 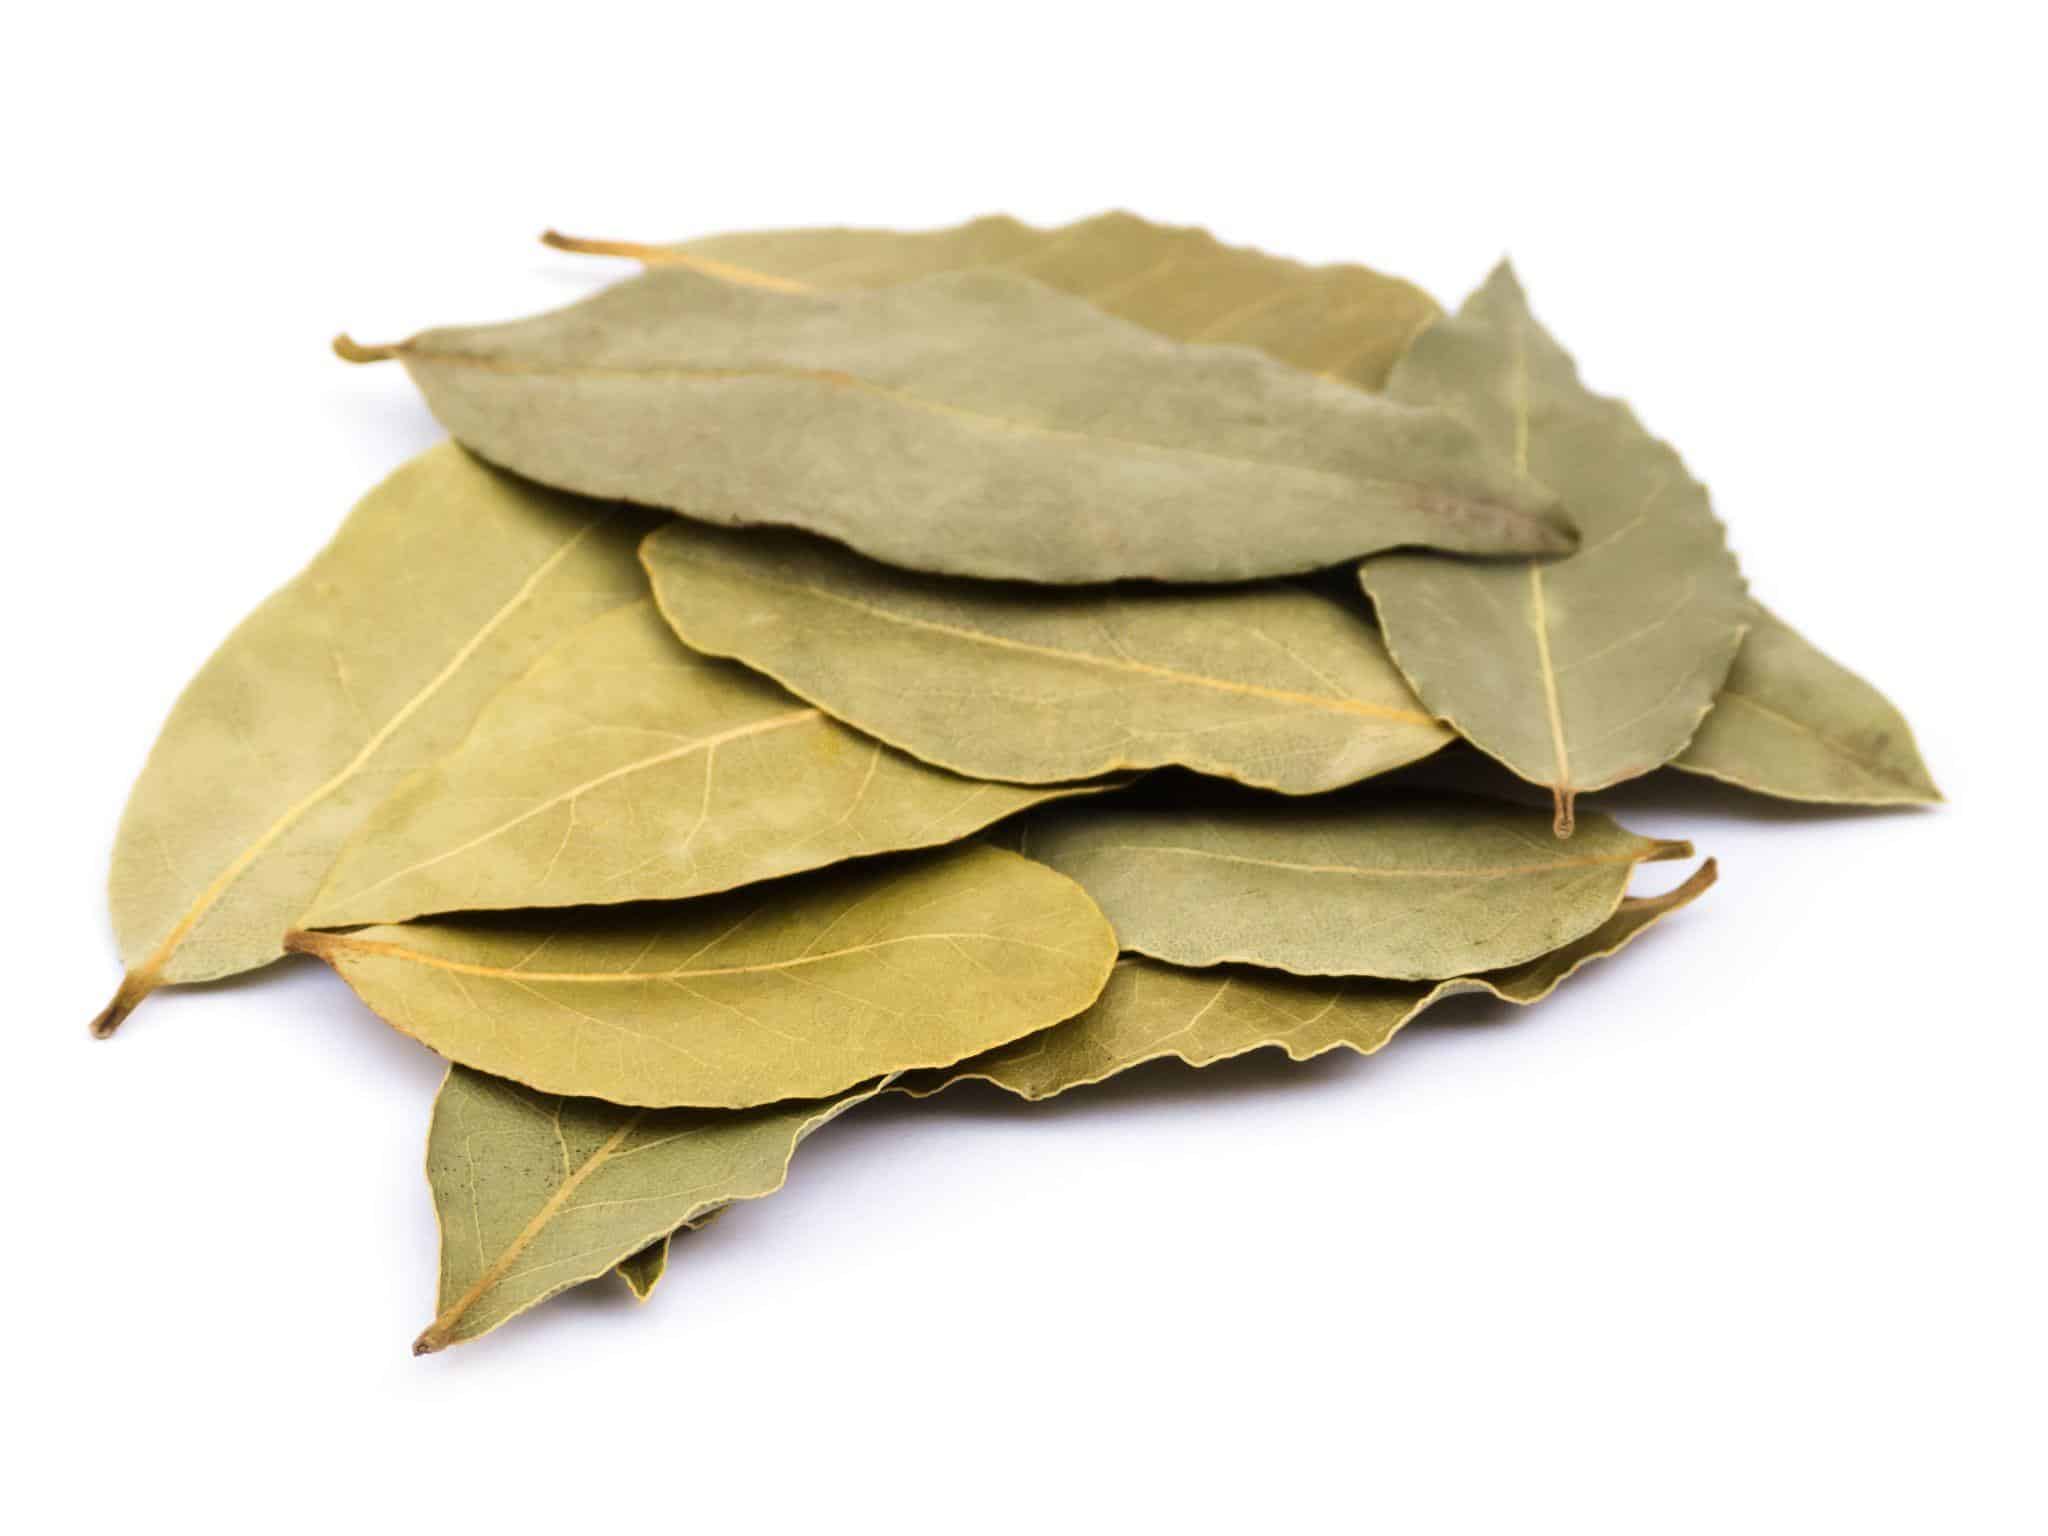
Dried Bay Leaves Ready for Storage
Assuming that you store your homemade oven-dried bay leaves in an airtight container, away from sunlight, and in a dry place, you can expect them to stay good for one year. That’ll be just in time for midsummer picking again, where you’ll get another batch of oil-rich leaves.
Regardless of what you choose, you’ll be among the people who have used bay leaves for thousands of years for benefits like food flavoring, cosmetics, and wound healing.
However, you might need to use your oven during the necessary drying time. So, below are some other ways you can dry these leaves:
So many foods are better fresh, which is why the following fact might surprise you-bay leaves have a stronger flavor when dried than fresh.
In fact, for every dried bay leaf you use, you would need to use two fresh bay leaves.
Furthermore, you can expect this dried herb to last for as long as two years as long as you store it under the following conditions:
Furthermore, feel free to put your oven-dried bay leaves in an airtight bag in your freezer to preserve their flavor and smell.
Although drying bay leaves makes their tough fiber crunchier and more brittle, North Carolina State University Extension cautions that they remain a choking hazard.
Furthermore, because the leaves are so sharp, they can cause physical injury to the inside of the mouth and digestive tract. Therefore, you should eat around these dry herbs and remove them when giving children a dish seasoned with dried bay leaves.
Indian bay leaves are frequently used in regional Indian dishes and have a significantly different flavor profile that the european bay laurel leaf. You can’t really substitute these leaves for each other in your recipe as the Indian bay leaf is a highly aromatic leaf and has a stronger, more pungent taste.
Unless your recipe calls for a fresh bay leaf, you will probably want to dry your bay leaves prior to cooking. The flavor of a fresh bay leave can be overwhelming where as dried bay leaves provide more subtle flavor. Follow your recipe for best results.
