Cleanliness in every aspect of daily life is a must. Keeping things clean prevents many diseases and ailments. The kitchen is one of the places cleanliness is required. Today the supermarkets are filled with detergents and solutions that assist with disinfecting and sanitizing a kitchen.
In addition to their vital role in keeping the kitchen healthy and safe to eat from, these cleaning agents leave this area of the house smelling good.
But, there is one item in the kitchen that is overlooked, the common canister. Using canisters in the kitchen keeps things organized, clean, and aesthetically beautiful.
So, let’s learn how to make a seal for a canister.
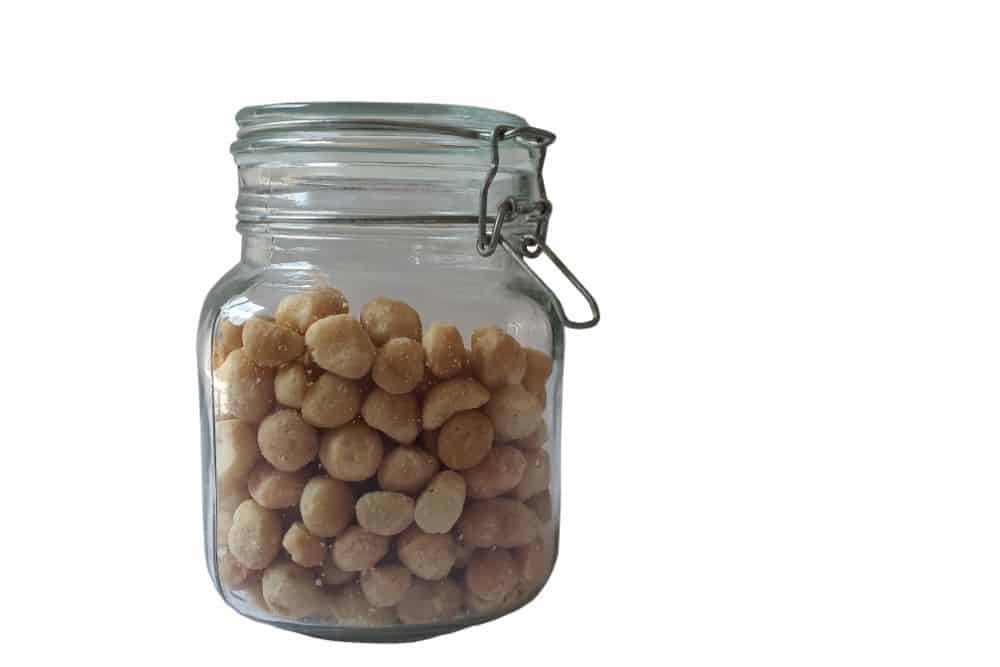
A canister is a container used to store food products. It usually has a close-fitting lid that prevents the contents from spilling and going bad. Canisters come in different sizes and materials. Glass, metal, and plastic are the most common storage containers.
Cannisters with airtight sealed lids are the best containers for kitchen use, food storage, and overall organization. Food can be preserved for long periods when sealed correctly.
Use a coffee canister to preserve your coffee beans for a freshly brewed cup of coffee in the morning.
While it is true that just about any container can serve as a canister, not all canisters are the same. The difference between the two types of canisters comes down to the type of lid it has. Some lids simply cover the canister, preventing foreign substances from entering the container. These containers cannot prevent liquids or air from entering the container and spoiling food.

However, the second type of canister, the sealed lid, prevents any moisture from entering the canister. Airtight lids are the types most needed for kitchen use. Canisters with a seal preserve a variety of food items, liquids, cooked items, and dry goods.
The most important job of a sealed canister is to preserve the freshness of food by preventing air and bacteria from entering the container. Leftover foods and dry goods last longer the less oxygen is exposed to them. Extending the shelf life of food items saves time, energy, and money.
However, there are other good reasons to use sealed containers in your kitchen. At times food stored in the refrigerator absorbs the smells of certain foods around it. Using airtight canisters is a way to prevent this from occurring and helps to retain the food item's original taste and smell.
Another good reason to use airtight containers is to prevent contamination. Different foods have varying shelf lives. Sealing off food and preventing it from mixing with other items help keep your food fresh, healthy, and contamination free.
Most containers are relatively inexpensive. But, when people incorporate vacuum-sealed canisters into a food storage system, it can get costly. Making a seal for a canister is not as difficult as most people think. So, how to make a seal for a canister? There are a few parts you will need.
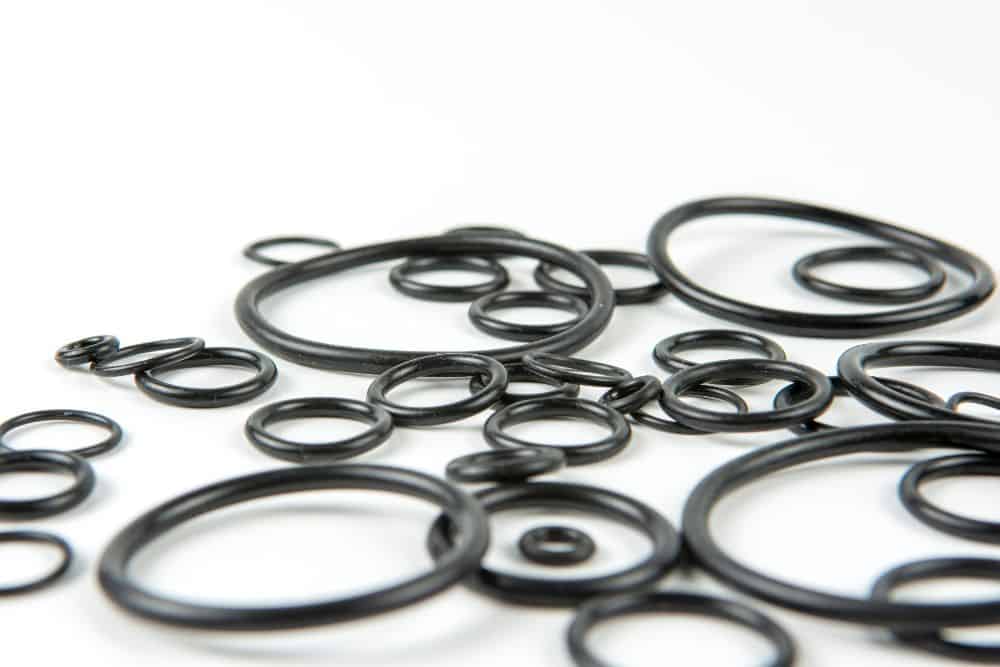
An O-Ring is a rubber piece discovered in 1891 by Niels Christensen, a machinist. He noticed that a piece of rubber between two parts, created a seal when applying pressure.

An O-Ring creates an effective seal in a canister. And, most importantly, anyone can make O-Rings for kitchen canisters with plastic tubing cut to fit inside of the lids. When the lid is closed, the tubing will expand and seal.
An excellent way to make a smart seal for a canister is by using a Ziploc pump. Everyone remembers trying to push all of the air out of a Ziploc bag before placing it in the refrigerator or freezer.
The executives of Ziploc remedied this problem by inventing the Ziploc pump. Its function is to suck the air out of Ziploc bags and preserve food longer. The pump's function is the same with containers, especially mason jars.
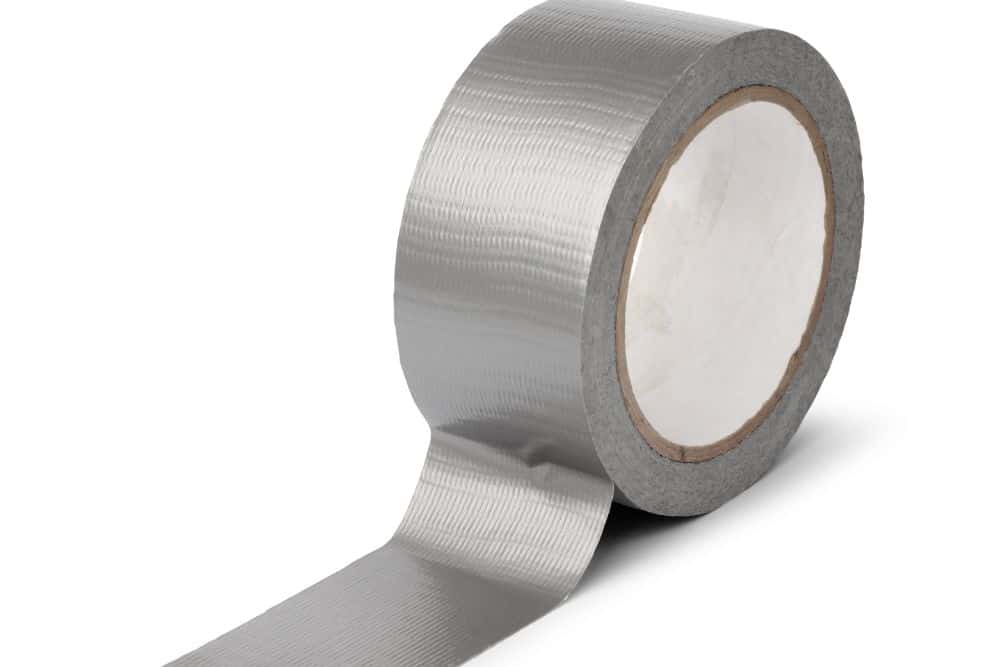
All anyone needs to do is make a small hole in the lid and place a small amount of duct tape over the hole, creating a seal that prevents air from entering. Then, add the food to be preserved in the jar and screw the lid back in place. After this, the Ziploc pump is placed over the hole and sucks all the air out of the jar, creating a vacuum seal.
There are many food vacuum pumps on the market today. All of these pumps have the same concept of sucking the air out of your food storage containers to increase the shelf life of your food. You can even microwave the Ziploc bag to start on food prep.
Sugru is moldable glue. The package comes with white strips of this glue that turns into rubber after 24 hours. This substance is placed inside the container lid and left to sit for 30 minutes. After 30 minutes, put the lid on the canister and screw lightly to make a groove in the Sugru, remove and let sit for 24 hours. In 24 hours the lids can be put back on the canisters and create an airtight container.
Out of all the ways to make a seal for a canister, the use of simple duct tape is one of the easiest ways. Duct tape is readily available and is fairly inexpensive. It fits almost anyone’s budget. When sealing containers, a person needs to place duct tape on the inside of the lids, screw them on the containers, and there is an airtight canister.
Opening the canister will likely be a challenge, and unless done perfectly, it may not give the airtight seal that you’re looking for.

Using a repurposed plastic, water, milk, or juice bottle may seem odd to most people. But necessity is the mother of invention, and keeping food fresh, dry, and bacteria-free is a necessity. Only two items are needed to create an airtight container, a plastic bag and a plastic container that has a screw on/off the top.
Cut the bottle in half and keep the top portion of the container along with its lid. Put the plastic bag in the opening, bottom side first, and allow a large section of the opened part of the bag to hang out of the top of the container. Add any liquid and screw the top on.
If the item someone wants to preserve is a dry good, like beans, flour, or cornmeal, add this item to the bag first, then feed the top of the bag through the bottle and close the lid. A refurbished bottle is an inexpensive way to preserve food with items that nearly everyone already has in their kitchen.
Iron is also a quick and convenient way to make a sealable canister. All that is needed is aluminum foil and a plastic container for this. Make sure that the foil covers the entire opening of the container and run a hot iron over the aluminum. And that easy, a person can know how to create a seal for a canister.
