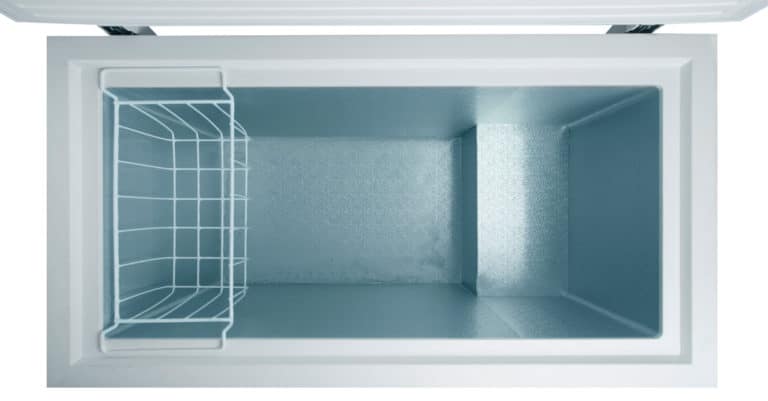
Is your chest freezer not freezing? Don't fret! Here's a simple guide to help you troubleshoot your appliance:
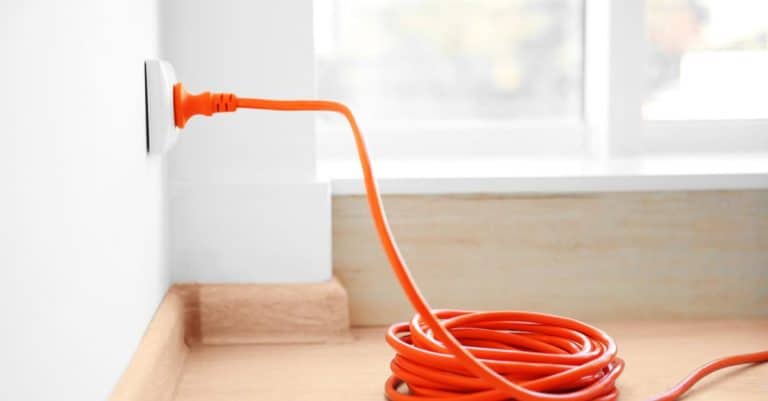
First, ensure your freezer is plugged into a working outlet. If it's plugged in and not running, check the circuit breaker or fuse box for any tripped breakers. Reset the breaker or GFCI outlet by pushing its reset button, if needed. To confirm the outlet has electricity, plug in a different item, like a lamp, to verify a proper connection.
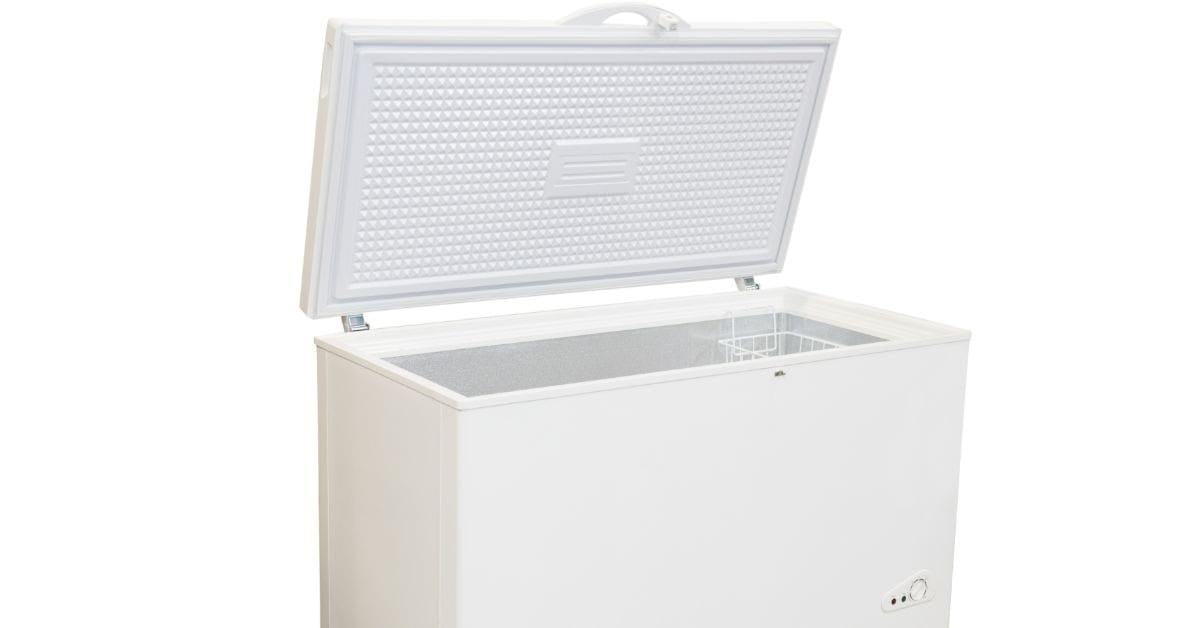
Next, check the door seals and lid gaskets for any signs of wear or damage. Close the freezer door and visually inspect the gasket for proper alignment. If it's misaligned, clean it and remove anything obstructing a good seal. Perform the dollar bill test by placing a bill between the door seal and the freezer. If it slides out easily, the gasket may need to be replaced.
Learn how to test your door seal with a dollar bill.
Lastly, check your freezer's temperature settings. It's possible that the thermostat is set too high, reducing its ability to generate cold air. Adjust the freezer temperature control thermostat to a colder setting and wait several hours to see if it starts freezing. If it still doesn't work, you might need to replace the thermostat.
Your compressor plays a key role in keeping your chest freezer cold. If it's faulty, your freezer won't freeze properly. You can check the compressor by listening for a humming noise, which indicates it's running. If it's silent, test the compressor start relay using a multimeter. If the relay is bad, replace it to get your chest freezer working again.
A faulty condenser fan can also cause issues with your chest freezer. Confirm that the fan is running when the compressor is on. If it isn't, your freezer temperatures may rise. To fix this, replace the defective fan motor or consult a technician for help.
A defective thermostat can lead to your chest freezer not freezing. To test the thermostat, turn it to its coldest setting and see if the compressor kicks in. If this doesn't work, use a multimeter to test its function. Replace the thermostat if it's not functioning properly.
Defrost issues can prevent air from circulating, causing your freezer to not freeze. If you suspect a frost buildup, defrost your chest freezer and check if it reaches the required temperature afterward. Inspect the defrost heater for signs of damage or malfunction, and replace it if needed to avoid future frost buildup.
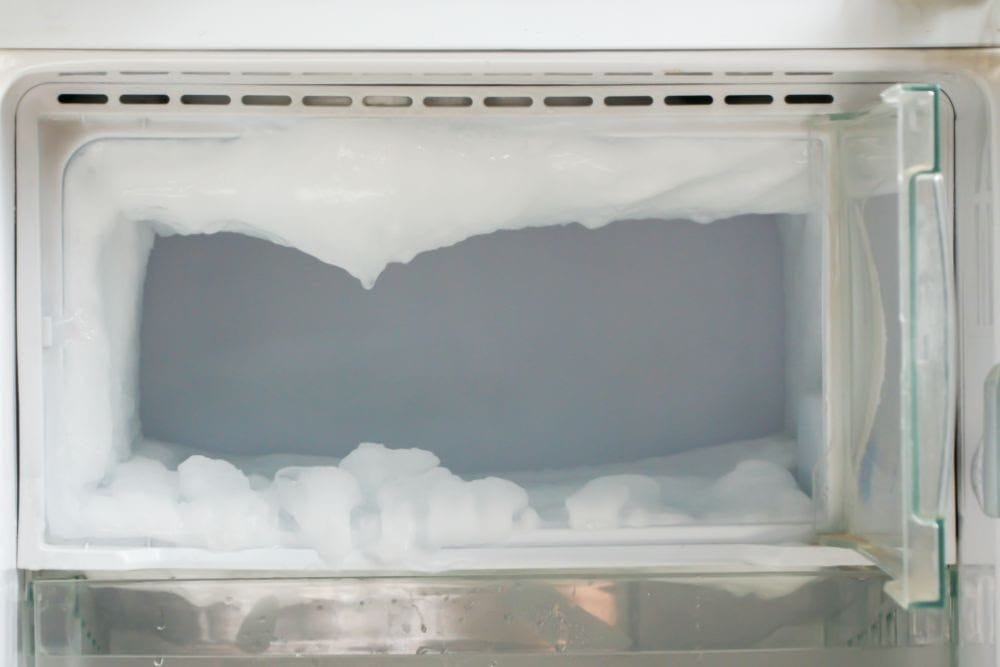
Defrost and inspect your freezer's defrost heater for a frost-free future.
To keep your chest freezer running well, regular maintenance and cleaning are vital. Here's how you can maintain and clean your chest freezer, focusing on the condenser coils, evaporator fan, and frost buildup:
Your freezer's condenser coils can gather dust and debris, reducing efficiency. Keep them clean by following these steps:
The evaporator fan helps maintain proper airflow, ensuring your freezer stays cold. Here's how you can check its condition:
Frost buildup in your freezer can limit cooling efficiency. Here's how to address the issue:
With proper maintenance and cleaning, you can prolong your chest freezer's lifespan and ensure it remains cold and efficient. Don't forget to address the condenser coils, evaporator fan, and frost buildup at least twice a year.
We have identified three common solutions for fixing a chest freezer that is not freezing:
First, check the Freezer temperature control setting. Make sure it's set to the recommended level for proper freezing. If necessary, adjust the thermostat to a colder setting.
Don't let incorrect temperature settings spoil your fridge's efficiency.
A damaged or worn freezer door seal can cause your chest freezer to lose its cooling capacity. Perform the dollar bill test to verify the freezer door gasket's effectiveness. Place a dollar bill between the freezer door gasket and the lid gasket, then close the lid. If the bill slips out easily or falls, it's time to replace the freezer door seal.
A faulty compressor start relay can cause your chest freezer to stop freezing. To replace the start relay, follow these steps:
By taking these steps, you can resolve the most common issues related to your chest freezer not freezing.
It's crucial to know when you need the help of an expert appliance repair technician for your chest freezer. Even though you can often solve simple issues on your own, some cases require the skills of a trained appliance repair technician.
If you've checked for common issues like the door seal, power supply, and thermostat but your chest freezer still isn't freezing, then it's time to call a pro. Persistent rattling noises or any other strange sounds are also signs that you need expert help.
An appliance repair technician can properly diagnose any worn-out parts that may be causing the problem. They have the tools, knowledge, and experience to quickly fix the issues and save you the time and effort you'd spend on a DIY repair.
Remember, seeking help from a professional appliance repair technician will ensure your chest freezer is fixed safely and efficiently. Don't hesitate to call an expert when needed.
Several factors can cause your chest freezer to stop working, including:
Check these areas to troubleshoot your chest freezer and get it working again.
Chest freezers usually don't have a reset button. However, you can try resetting your freezer by unplugging it, waiting for a few minutes, then plugging it back in. This can help clear up any issues and reset the freezer's internal components.
To clean the condenser coils on a chest freezer, follow these steps:
Cleaning the condenser coils regularly helps your chest freezer maintain its efficiency and prevent performance issues.